Here’s what the packaging doesn’t tell you: that adhesive backing is in a constant battle with physics, and physics always wins. I learned this the hard way in three different rooms of our bungalow (yes, I was stubborn enough to try three times).
The adhesive on peel-and-stick tiles starts breaking down almost immediately. Not in some dramatic, obvious way – it’s insidious. You’ll install them and they’ll look perfect. You’ll admire your handiwork, post it on Instagram, and feel like a DIY genius. Then, maybe six weeks later, you’ll notice the corner of one tile isn’t quite flush anymore. By three months, you’re pressing tiles down every time you walk past. By six months, you’re avoiding that room because you’re in denial about the disaster you’ve created.
I tried the cheap Smart Tiles from Home Depot ($89 for our bathroom). I tried the “premium” FloorPops from Target ($47 per box, needed eight boxes for our kitchen – do the math, I’ll wait). I even tried some fancy ones from a specialty online retailer that cost nearly as much as actual tile. Every single one failed. The timeline varied, but the ending was always the same: peeling edges, shifting tiles, and me with a scraper and a lot of regret.
What Actually Happens: Even in low-traffic areas, the adhesive weakens from temperature changes, humidity fluctuations, and just… time. Portland’s rainy winters meant our bathroom went from warm and steamy to cold and damp multiple times a day. Those adhesive bonds didn’t stand a chance. Most peel-and-stick tiles last between three and ten years if you’re lucky – and that’s assuming they look decent that whole time, which they won’t.
Installation Looks Easy Until You Actually Start
You know what nobody shows you in those satisfying TikTok videos? The third tile went down crooked because the adhesive grabbed immediately, and you couldn’t adjust it. The air bubbles that appear, no matter how carefully you smooth things down. The moment you realize your “straight” line is actually gradually veering off at a three-degree angle, and now you’re twelve tiles in, and everything looks drunk.
I consider myself pretty handy – fifteen years of DIY projects, a design degree, and I’ve tiled actual bathrooms the traditional way. But peel-and-stick tiles tested my patience like nothing else. Here’s why: that adhesive is aggressively sticky from the moment you peel the backing. You get exactly one chance to place each tile correctly. There’s no sliding it into position, no adjusting by a quarter-inch. Where it touches is where it stays.
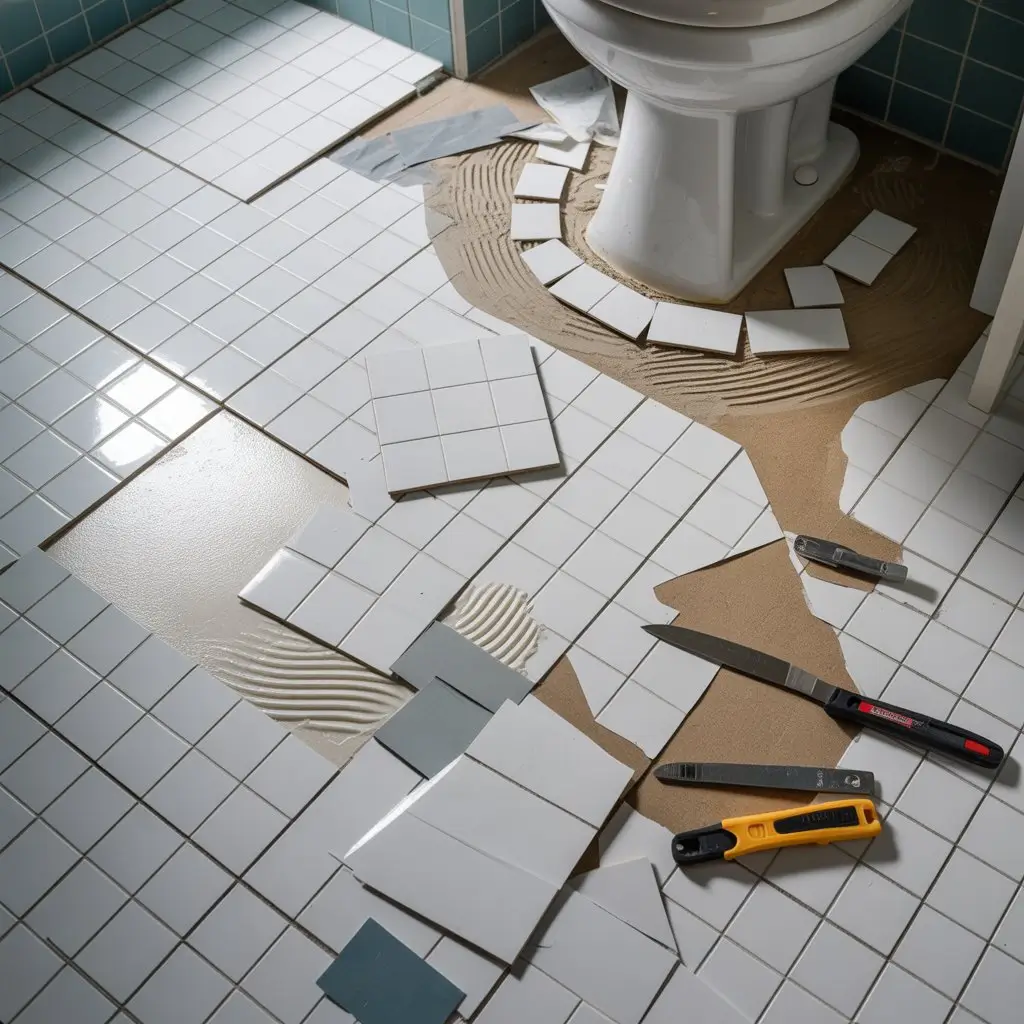
Cutting them? Nightmare. I went through three different utility knife blades trying to get clean cuts around our toilet. The vinyl would catch and tear instead of cutting smoothly. And don’t even get me started on trying to match patterns across tiles – the slight manufacturing variations meant my supposedly “seamless” geometric pattern had visible misalignments everywhere.
The Surface Preparation Reality: The instructions say to install on “clean, smooth, dry surfaces.” What they mean is: surfaces must be absolutely flawless. That tiny crack in your bathroom floor? It’ll telegraph right through the thin vinyl. That barely-noticeable texture on your wall? Your tiles will peel there first. I spent four hours prepping our bathroom floor – filling, sanding, cleaning with TSP, letting it dry completely. The tiles still failed. Traditional tile installation? You can actually cover minor imperfections with the mortar bed.
The Moisture Problem Nobody Mentions Upfront
This one really gets me because peel-and-stick tiles are marketed specifically for kitchens and bathrooms. You know, the two rooms in your house with the most moisture. It’s like selling umbrellas that dissolve in rain.
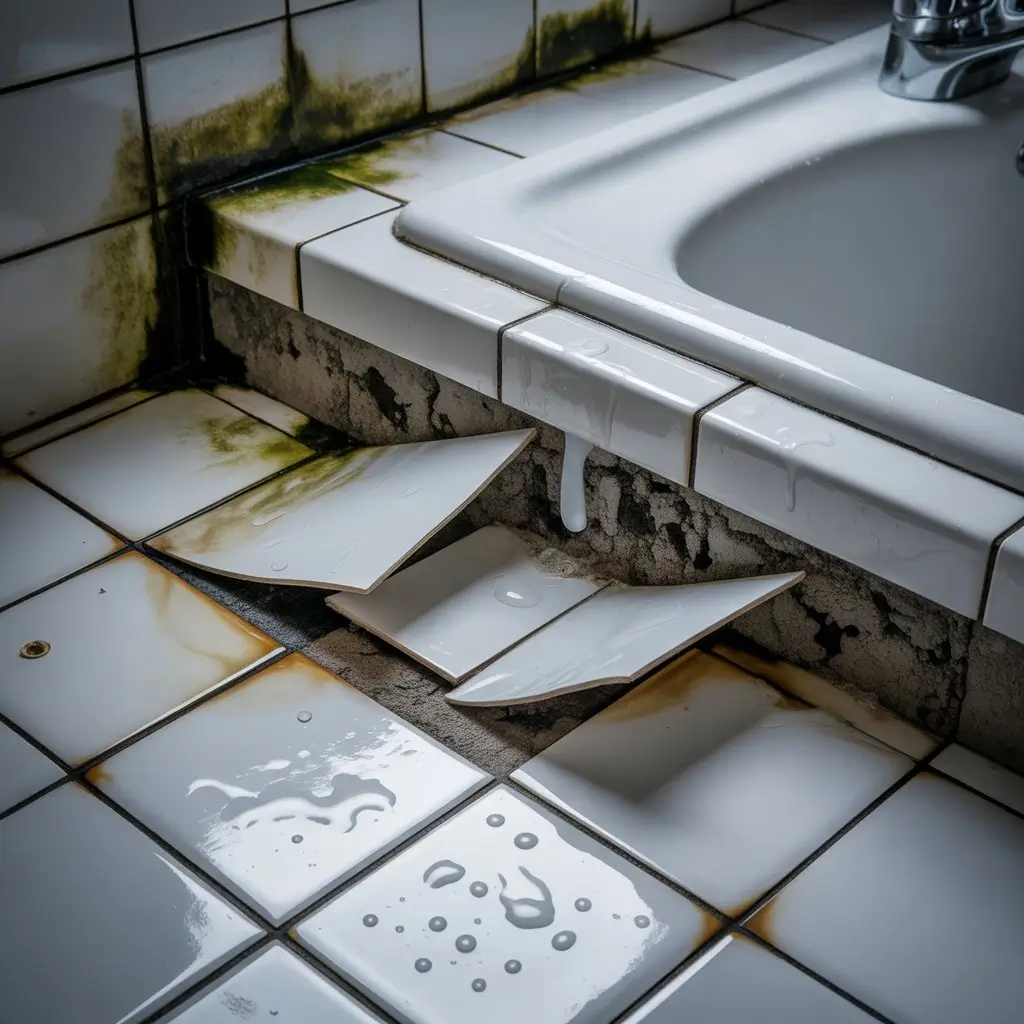
Our bathroom experiment failed fastest around the sink area and near the tub. Shocking, right? Turns out, when water gets underneath peel-and-stick tiles – and it will get underneath, because the edges never seal perfectly – you’ve created a perfect little moisture trap. I noticed a musty smell after about three months. When I pulled up the tiles to investigate, there was visible mildew growing on the subfloor underneath.
I had to treat the entire floor with mold killer, let it dry for three days, and then seal it before I could install anything new. My partner’s comment: “Wasn’t this supposed to be easier than regular tile?” Yes. Yes, it was supposed to be.
Some peel-and-stick options claim to be “waterproof.” Maybe the tile itself is waterproof (doubtful), but that adhesive definitely isn’t. And the gaps between tiles? Water’s favorite new home. In our kitchen, the tiles near the sink started to warp slightly from moisture exposure – they developed this subtle wave pattern that caught the light and made the whole floor look cheap.
For Shower Areas? Absolutely Not: I know someone’s going to ask, so let me save you the trouble: do not use peel-and-stick tiles in your shower. I don’t care what the manufacturer claims. The constant moisture and heat will destroy them faster than you can say “why is my shower floor squishy?” If you’re looking for a DIY shower solution, save up for real tile or consider a prefab shower system. Your future self will thank you.
They Look Cheap (Because They Are)
I’m just going to say it: peel-and-stick tiles make your space look like you’re trying to hide something. They’re thin – we’re talking millimeters thin. They don’t have the dimensional depth of real tile. They don’t have the weight. They don’t have that satisfying, solid feeling when you walk on them.
My daughter’s friend asked if our kitchen floor was “temporary” because we were “still fixing up the house.” That hurt. We’d owned the house for six years at that point. But she wasn’t wrong – the floor looked temporary, like we’d slapped down a quick fix and planned to redo it “someday.”
When we were considering selling our bungalow last year (we ultimately decided to stay), our realtor took one look at the peel-and-stick backsplash I’d installed in the kitchen and said, “That’s going to need to come down before we list.” Not “it’s not my style” or “buyers might not like it” – just a flat statement that it was actively hurting our home’s value.
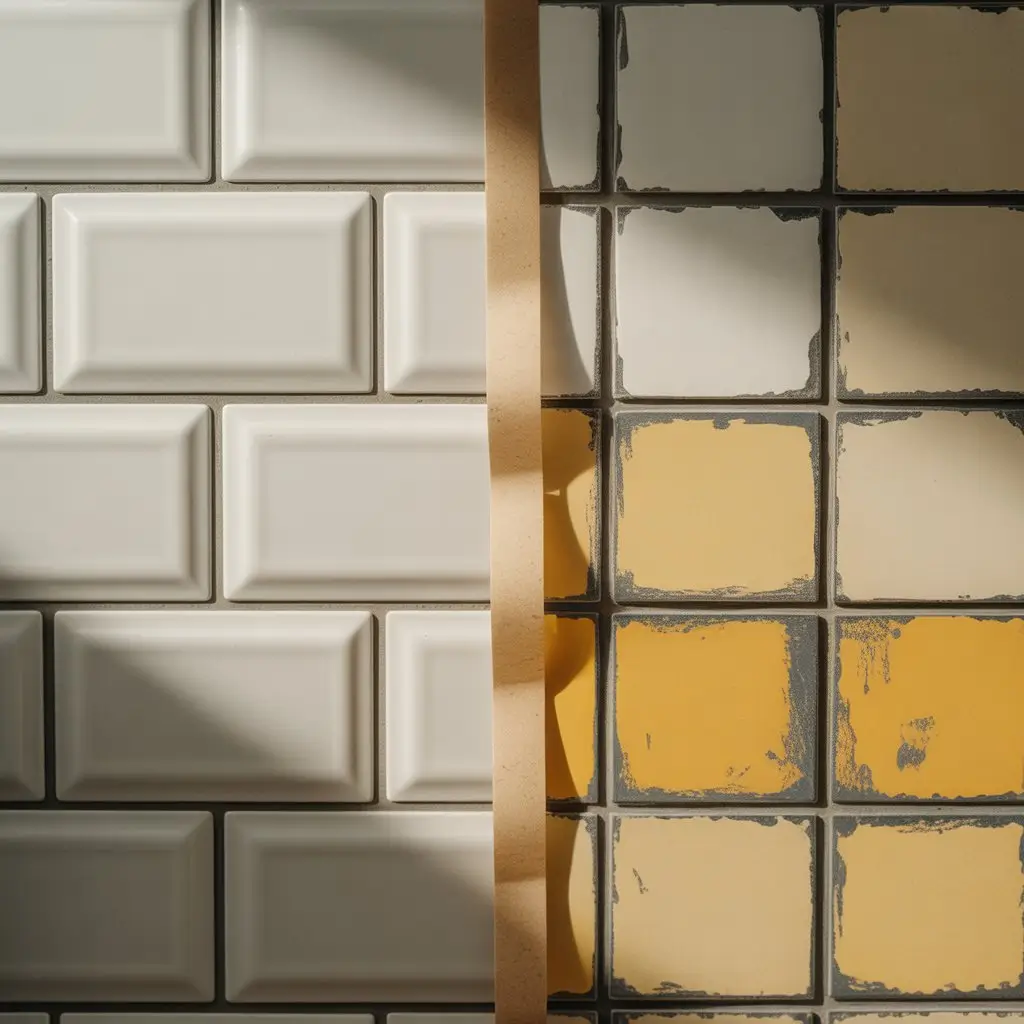
The colors also shift over time. The white subway-style tiles I installed in our bathroom? After a year in Portland’s indirect sunlight, they’d developed a yellowish tinge. The “marble look” ones? The printed pattern started to fade where we walked most frequently, creating visible traffic patterns.
When Design School Meets Reality: At SCAD, we learned that materials communicate value and intentionality. Real tile says, “I invested in quality.” Peel-and-stick says, “I was trying to save money, and it shows.” I’m not being snobby – I’m being honest. If you’re doing this because of budget constraints (which I completely understand), there are better budget solutions that don’t sacrifice visual quality.
Removal Is Where Things Get Really Expensive
Remember how I mentioned spending hours with a putty knife, scraping adhesive? Let me paint you a more complete picture of that nightmare.
The peel-and-stick tile manufacturers love to emphasize “easy removal” as a selling point, especially to renters. This is, and I’m choosing my words carefully here, a spectacular misrepresentation of reality. Yes, the tiles themselves peel off fairly easily (especially since they’re already halfway off by the time you decide to remove them). But that adhesive? That stuff bonds to your floor like it’s trying to become one with the subfloor on a molecular level.
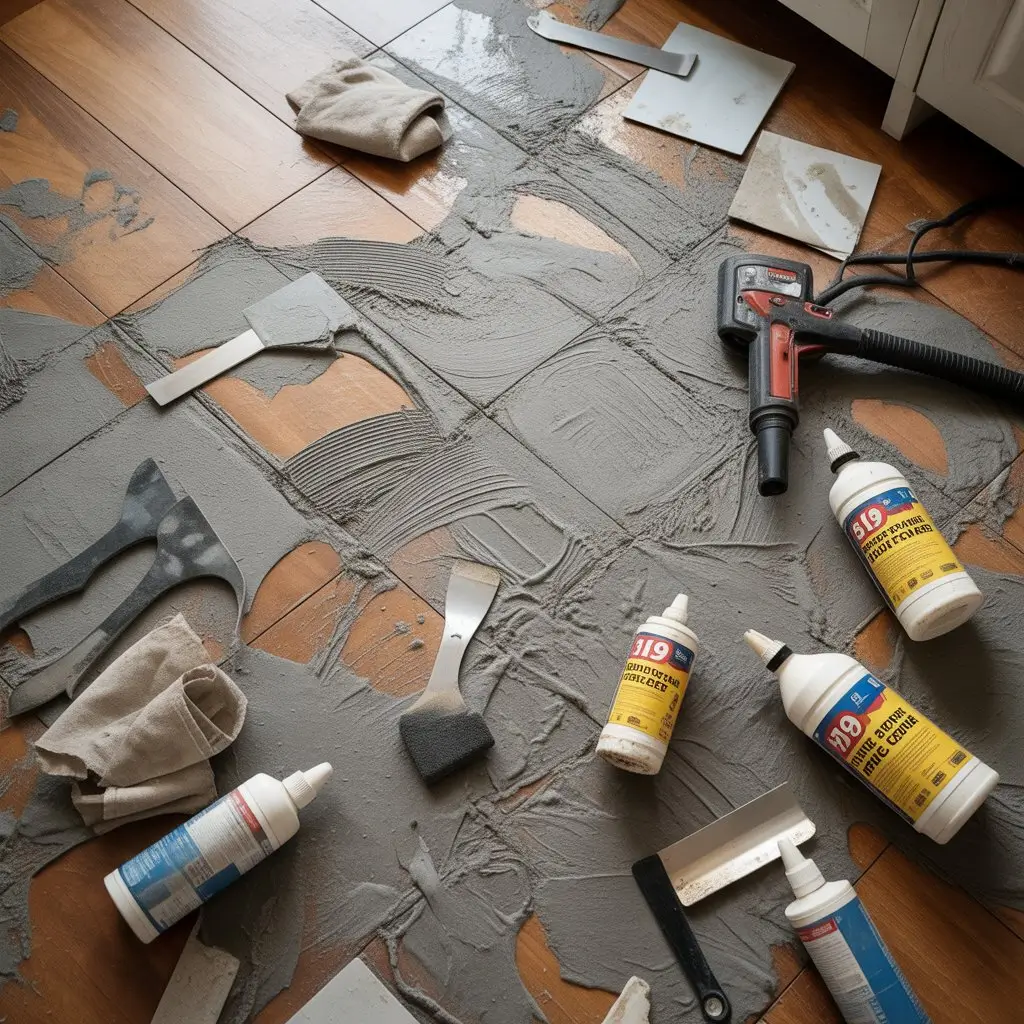
I tried everything: adhesive removers from Home Depot ($19 per bottle, used three bottles), heat guns (careful not to damage the underlying floor), plastic scrapers (broke two), metal scrapers (scratched the floor in several places), and finally, pure stubborn determination fueled by frustration. It took me three entire weekends to remove the kitchen tiles and get the floor clean enough to install something else.
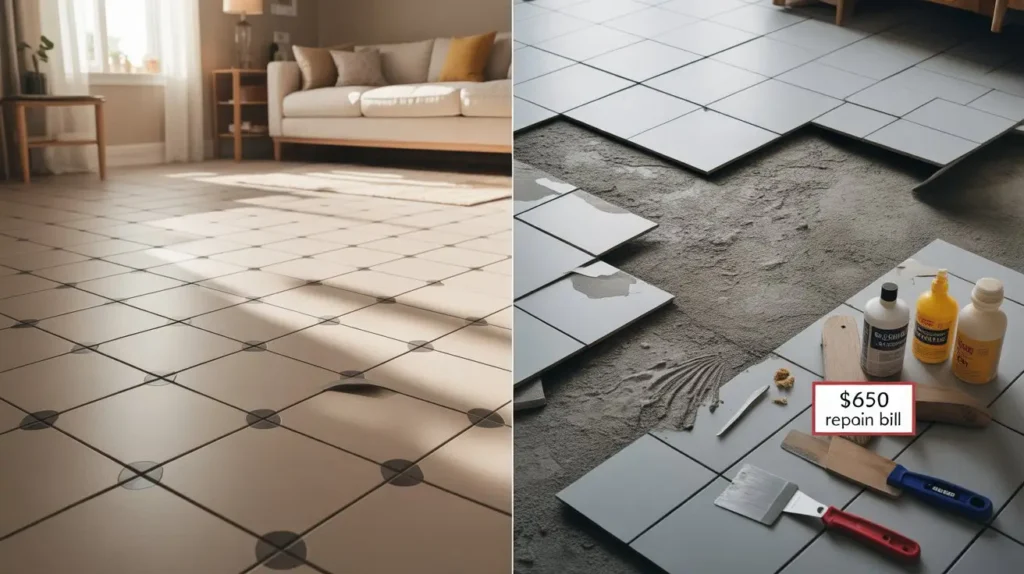
Our bathroom floor? The adhesive actually pulled up some of the finish on our original hardwood. I’m talking about damage that required professional refinishing. The “affordable $89 solution” ended up costing me $650 to fix properly.
For Renters Especially: If you’re renting and thinking these are a safe temporary upgrade, please reconsider. That damage to your floor or wall could easily cost you your entire security deposit. And unlike removable wallpaper (which I’ve had good experiences with), peel-and-stick tiles leave residue that’s really difficult to explain away during a move-out inspection.
The Health Stuff They Don’t Advertise
Here’s something I didn’t even consider until after installation: vinyl off-gassing. For about two weeks after installing peel-and-stick tiles in our bathroom, there was this distinct chemical smell. Not overwhelming, but definitely present. My partner, who’s sensitive to these things, started getting headaches when using that bathroom.
I did some research (which I should’ve done before installation, honestly) and learned that vinyl products can release VOCs – volatile organic compounds – and phthalates into your indoor air. We’re talking about the same stuff that made everyone switch to low-VOC paint. These tiles are essentially bringing it back into your home, but instead of dissipating after a few days like paint does, the tiles are constantly there, slowly releasing these compounds.
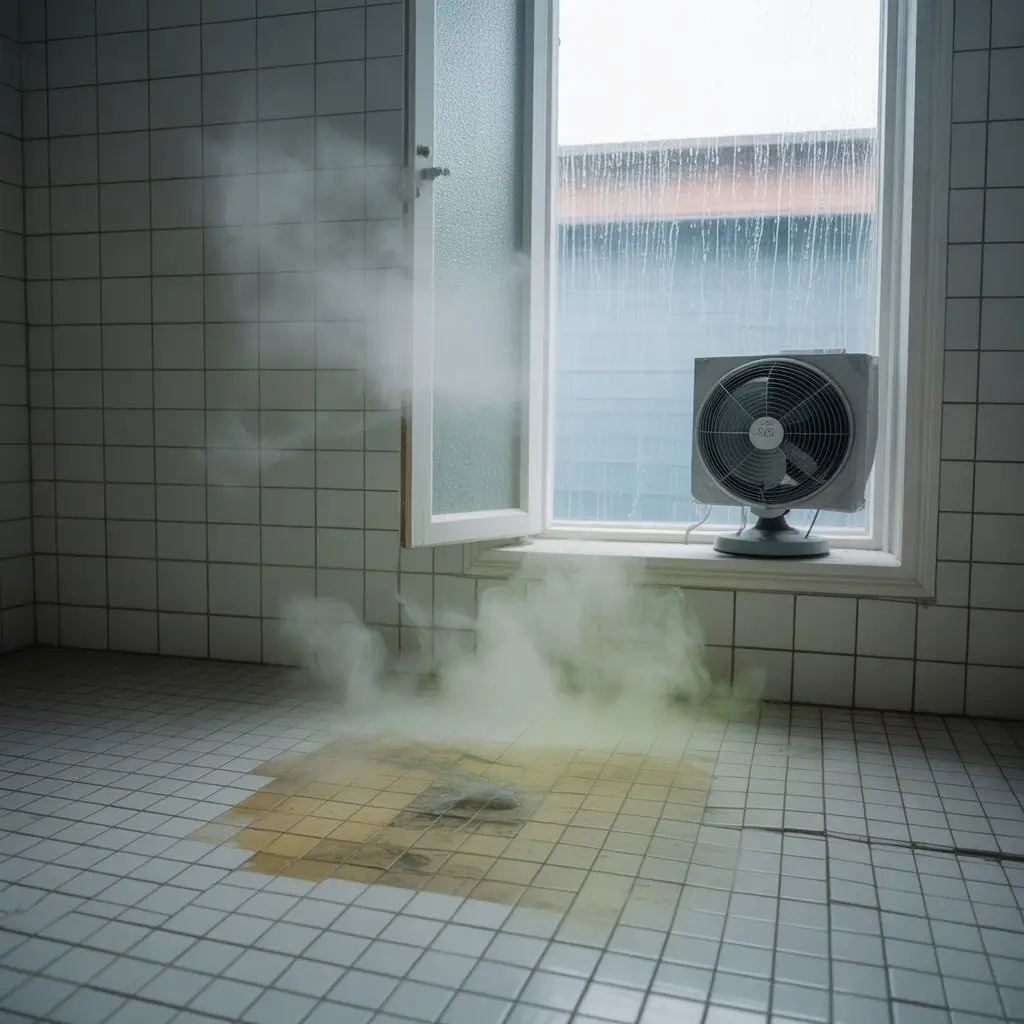
With two kids in the house, this bothered me more than I expected. We ended up ventilating that bathroom religiously – window open, fan running – for weeks. In Portland’s rainy climate, this meant our bathroom was perpetually cold and damp, which (ironically) probably contributed to how quickly the tiles failed.
The environmental impact also gnaws at me. PVC manufacturing releases harmful compounds into the atmosphere. I try to make sustainable choices where possible – we compost, we buy secondhand when we can, and I’ve furnished most of our house from estate sales and thrift stores. Installing PVC tiles went against those values, and for what? A solution that didn’t even work.
When They Take More Damage Than Your Patience Can Handle
Gatsby, our rescue cat, weighs about twelve pounds. Apparently, that’s enough to puncture peel-and-stick vinyl flooring when he lands from jumping off the counter (which he’s not supposed to do, but try explaining that to a cat). We ended up with little claw-mark indentations in three tiles.
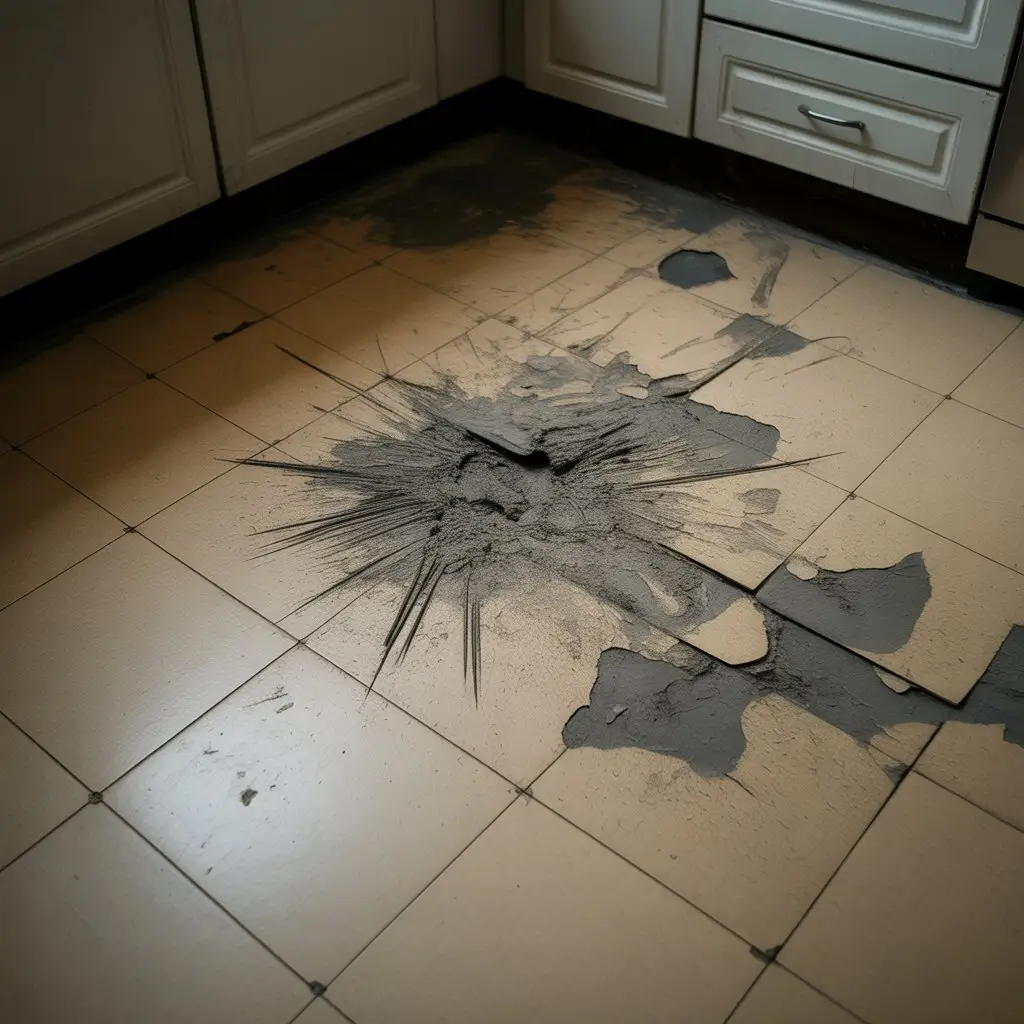
My son dropped a can of beans while unloading groceries. The corner of the can went right through the tile, leaving a small tear that gradually expanded every time someone stepped on it. I dropped a knife once while cooking (blade-first, naturally) and it sliced through the vinyl like… well, like a knife through vinyl.
The thing about real tile – ceramic, porcelain, even good quality vinyl plank flooring – is that it can take normal household abuse. Peel-and-stick tiles can’t. They’re thin and soft, and they show every impact. Furniture legs left little compression marks. Our kitchen chairs created wear patterns after just six months of normal use.
One of my daughter’s friends came over wearing cleats (soccer practice ran late), and before I could stop her, she had walked across our kitchen floor. The cleats left dozens of tiny puncture marks. I’m not saying kids should wear cleats indoors, but I am saying that regular tile would’ve been fine.
What I Do Instead – The Real Solutions: After my three-room peel-and-stick disaster tour, here’s what I actually recommend:

For Budget Bathroom Floors: Luxury vinyl plank (LVP) with proper underlayment. Yes, it costs more upfront ($3-5 per square foot versus $2 for peel-and-stick), but it’s actually waterproof, it’s durable, and it installs with a floating click-lock system that’s genuinely DIY-friendly. We redid our bathroom with TrafficMaster LVP from Home Depot ($4.27 per sq ft) and three years later, it still looks perfect. Total cost for our 40 sq ft bathroom: about $180 plus underlayment. Installation took me four hours.
For Backsplashes: If you’re set on DIY, consider actual tile with premixed adhesive. I know it sounds scarier, but honestly, it’s not much harder than peel-and-stick, and the results are infinitely better. For our kitchen redo (after the peel-and-stick failure), I used simple white subway tiles from Floor & Decor ($0.15 per tile – yes, fifteen cents), premixed mastic ($18), and spent one weekend doing it properly. That was three years ago, and it still looks fantastic. Or, if you’re patient, paint. A good quality semi-gloss paint in a wipeable finish costs $35 per gallon and will last longer than any peel-and-stick option.
For Renters: Honestly? Large area rugs for floors. Removable wallpaper for walls (I’ve had good luck with the Tempaper brand). Command strips for artwork and decor. Save your money and your security deposit. Transform your space with furniture, textiles, lighting, and paint (if your landlord allows it). These make a bigger impact anyway.
For Small Accent Areas: If you’re absolutely determined to try peel-and-stick tiles despite everything I’ve said, use them only in small, low-moisture, low-traffic areas. The inside of a closet. Under a desk where your feet won’t constantly hit them. A small section of wall for visual interest. Not your kitchen floor. Not your bathroom. Not anywhere that matters.
The Bottom Line (And Why I’m So Passionate About This)
Here’s the thing: I don’t usually get this worked up about DIY products. I’ve tried a lot of shortcuts and budget solutions over the years. Some work beautifully – I’m a huge fan of chalk paint for furniture refinishing, I swear by my $15 Ikea picture ledges, and half our house is furnished with thrifted and repainted pieces. But peel-and-stick tiles represent something that genuinely frustrates me: a product that’s marketed as democratizing design, making nice spaces accessible to everyone, when in reality it sets people up for expensive failures.
You know what actually makes design accessible? Teaching people that they can install real tile with patience and YouTube tutorials. Showing them that luxury vinyl plank is affordable and genuinely DIY-friendly. Encouraging them to paint their existing surfaces and call it good. Helping them find beautiful secondhand pieces instead of buying new.
Peel-and-stick tiles promise an easy shortcut, take your money, waste your time, and leave you with damaged surfaces and a space that looks worse than when you started. I spent over $600 total on peel-and-stick experiments, countless hours of labor, and more hours removing them and fixing the damage. If I’d just saved that money for a few more months and done proper tile work, I’d have been done years ago with results I actually loved.
My daughter doesn’t ask if we’re having money problems anymore. Our kitchen has real LVP flooring that I installed myself and actually feel proud of. Our bathroom has proper tile that I paid a professional to install because I’d learned my lesson about false economies. When friends ask me about peel-and-stick tiles now, I take a deep breath and start with: “How much time do you have? Because I need to tell you a story.”
My Honest Advice Moving Forward
I know this whole article has been pretty negative, and maybe you’re thinking I’m just bitter about my bad experiences. Fair enough. But I’m not telling you this to be discouraging – I’m telling you because I genuinely wish someone had been this honest with me three years ago. I could’ve saved money, time, and a lot of frustration.
If you’re considering peel-and-stick tiles right now, I’m asking you to pause. Really think about why you’re drawn to them. Is it the price? There are other budget solutions that actually work. Is it the DIY installation? Real tile isn’t as scary as you think, and LVP is actually easier to install than peel-and-stick. Is it because you’re renting? There are better temporary solutions that won’t risk your deposit.
Whatever you’re trying to achieve with peel-and-stick tiles, there’s a better way to get there. I promise. And I’m here to help you figure out what that is. Drop your specific situation in the comments – what room are you working with, what’s your budget, what’s your timeline – and I’ll share what I’d actually recommend based on fifteen years of doing this stuff and making plenty of mistakes along the way.
Your space deserves better than peel-and-stick tiles. And so does your wallet.