Mirror wall decor ideas have been on my mind ever since that afternoon three years ago when I stood in my dim Brooklyn hallway, arms crossed, staring at that sad beige wall. My nonna would have called it “senza vita” – without life. The space felt like a tunnel you rushed through to get somewhere better, never a place you’d actually want to linger. Then my neighbor Maria stopped by with an oversized mirror she’d found at a West Elm clearance sale – $89, down from $249 – and everything changed.
Here’s what I didn’t know then but wish someone had told me: mirrors aren’t just reflective surfaces. They’re light catchers, space expanders, and mood lifters all rolled into one surprisingly affordable package. And if you’re feeling intimidated right now, thinking you need some kind of design degree to pull this off? Trust me, I’ve made every mistake in the book (including hanging a mirror so low it only reflected my knees for an entire month).
Let me walk you through the mirror wall decor ideas that actually work – the ones I’ve tested in my own home, in friends’ apartments, and even in my sister’s rental where we couldn’t put a single nail in the wall.
Why Your First Mirror Matters More Than You Think
Before we dive into the fun stuff, let’s talk about something I learned the hard way. Which first mirror do you hang? It sets the tone for everything else. I bought a beautiful arched mirror from IKEA (their LINDBYN series, about $79) and hung it exactly where I thought it looked nice. The problem was, I’m 5’4″, and I’d positioned it at my eye level. When my 6’2″ husband walked by, all he could see was our ceiling fan.
The rule that saved me: Position your mirror so someone of average height (around 5’5″ to 5’7″) looks directly at the center. This usually means the mirror’s center sits about 57-60 inches from the floor. I know, I know – it feels higher than you’d expect. But it works.
The Transformation You Can See (My Before & After Moments)
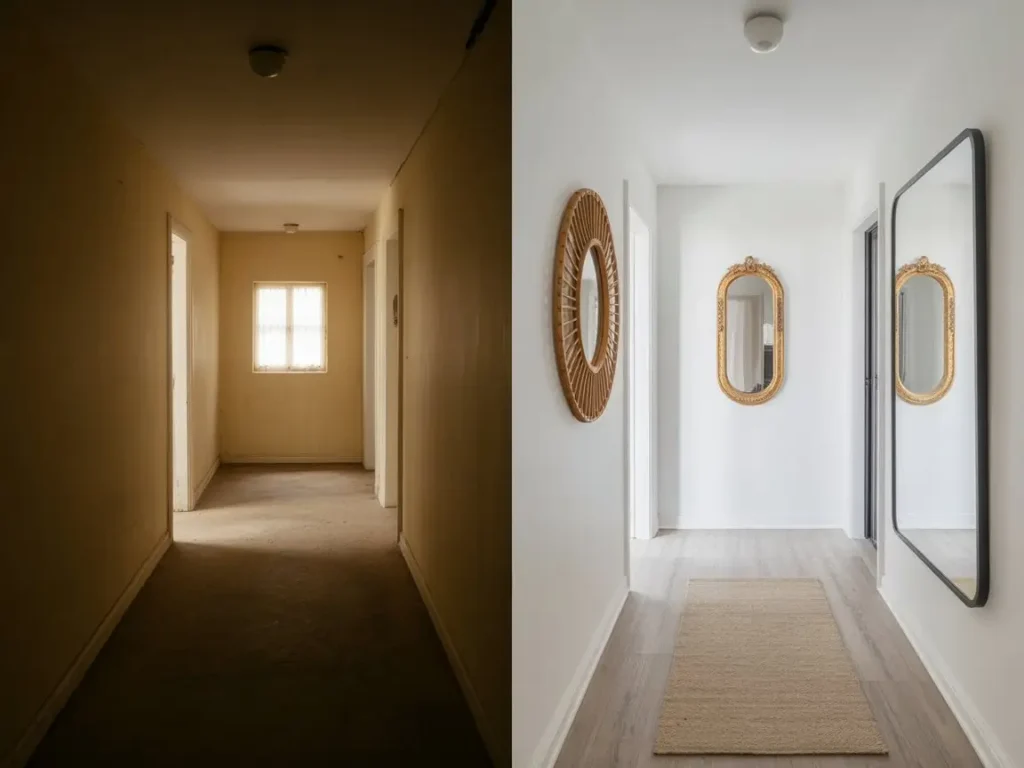
The Dark Hallway → The Light-Filled Gallery
Before: My 8-foot hallway felt like a cave. One small window at the end, builder-grade beige walls, and lighting so dim I’d bump into the wall trying to find the switch. Guests would literally speed-walk through it.
After: I hung three mismatched mirrors on the wall opposite that tiny window – a round rattan one from World Market ($45), an oval gold one from a thrift store ($12), and a rectangular black-framed mirror from Target ($38). The natural light now bounces around like it’s multiplied by three. People actually stop and comment on the hallway now.
What I learned: You don’t need matching mirrors. In fact, the mismatched look felt more intentional and collected over time, which is exactly the vibe I was going for. I spaced them about 4-5 inches apart, and the whole project took me maybe 45 minutes, including the three times I had to readjust the middle one.
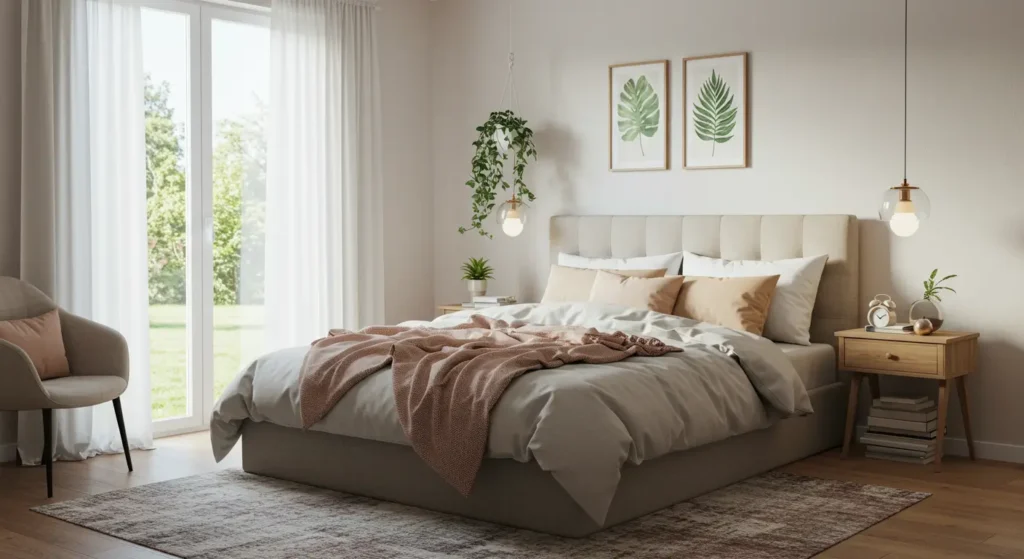
The Boring Bedroom Wall → A Sanctuary Statement

Before: The wall behind my bed was just… blank. I’d lived with it that way for two years because I couldn’t figure out what to put there. Art felt too permanent, wallpaper felt too risky (rental life, you know?), and I’d convinced myself I needed something expensive to make it work.
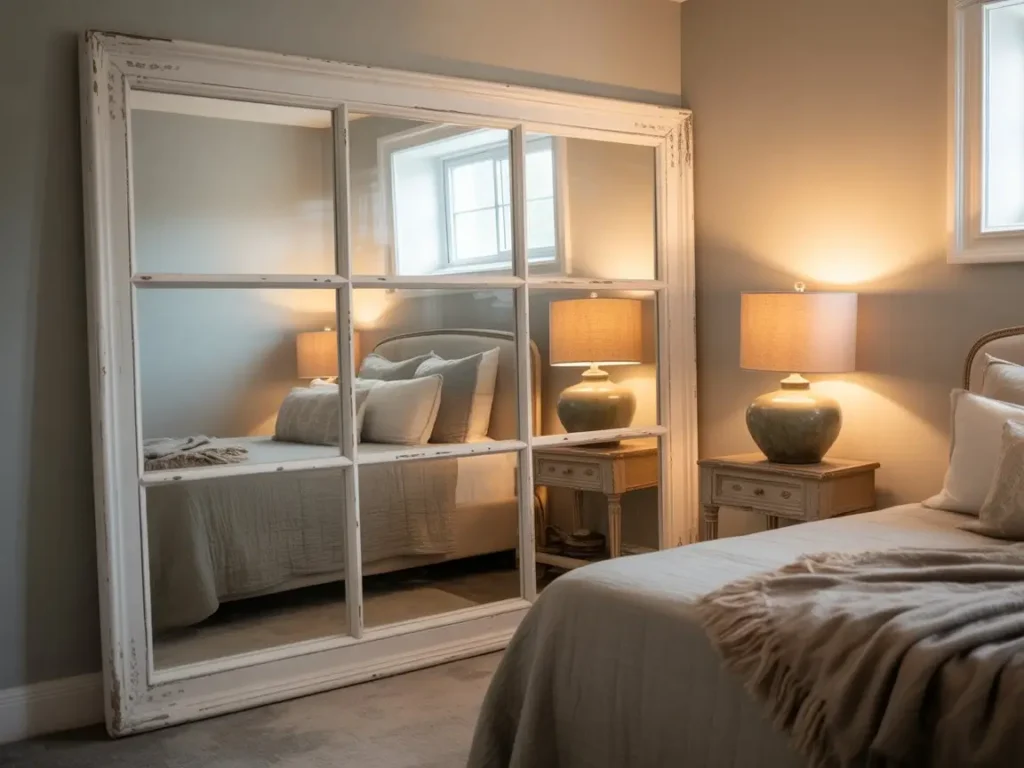
After: One large arched mirror from West Elm ($129 on sale), leaned against the wall rather than hung. I was terrified I’d break it the first week, but it’s been there for eight months and hasn’t budged. The curve of the arch softened all the rectangular furniture lines, and on sunny mornings, it catches the light in this absolutely magical way that makes getting out of bed feel less painful.
What I learned: Leaning mirrors against walls is completely legitimate design – not lazy or temporary-looking like I feared. It actually gives you flexibility to move things around without new nail holes. Plus, if you’re renting like I was, your landlord will thank you.
The Mirror Wall Ideas Actually Worth Trying in 2025
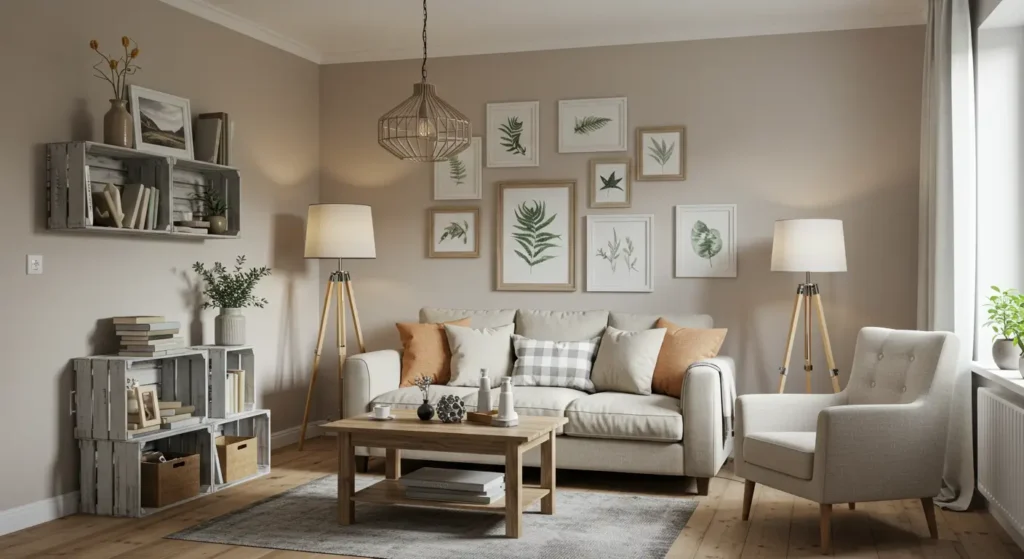
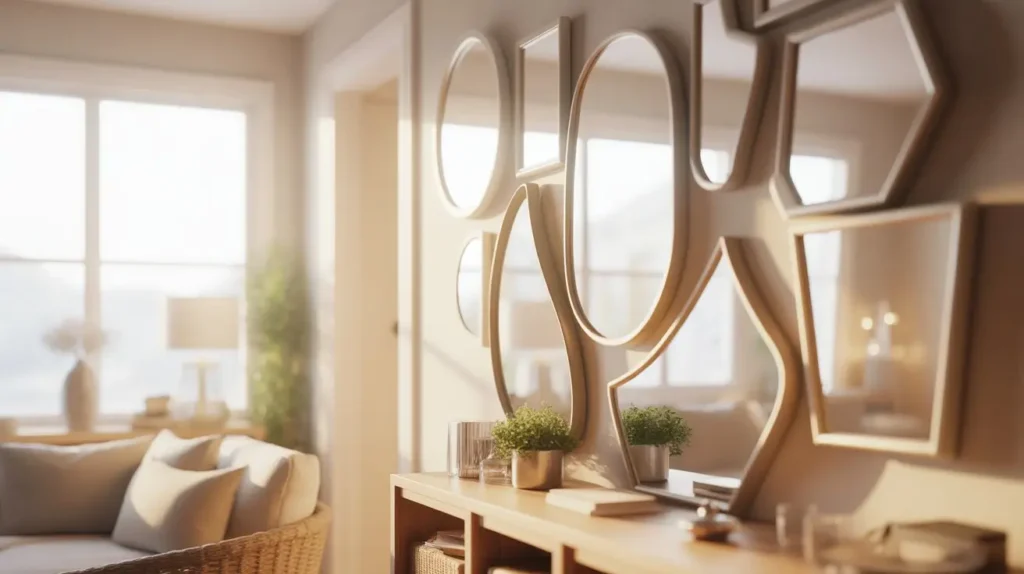
The Gallery Wall (But Make It Mirrors)
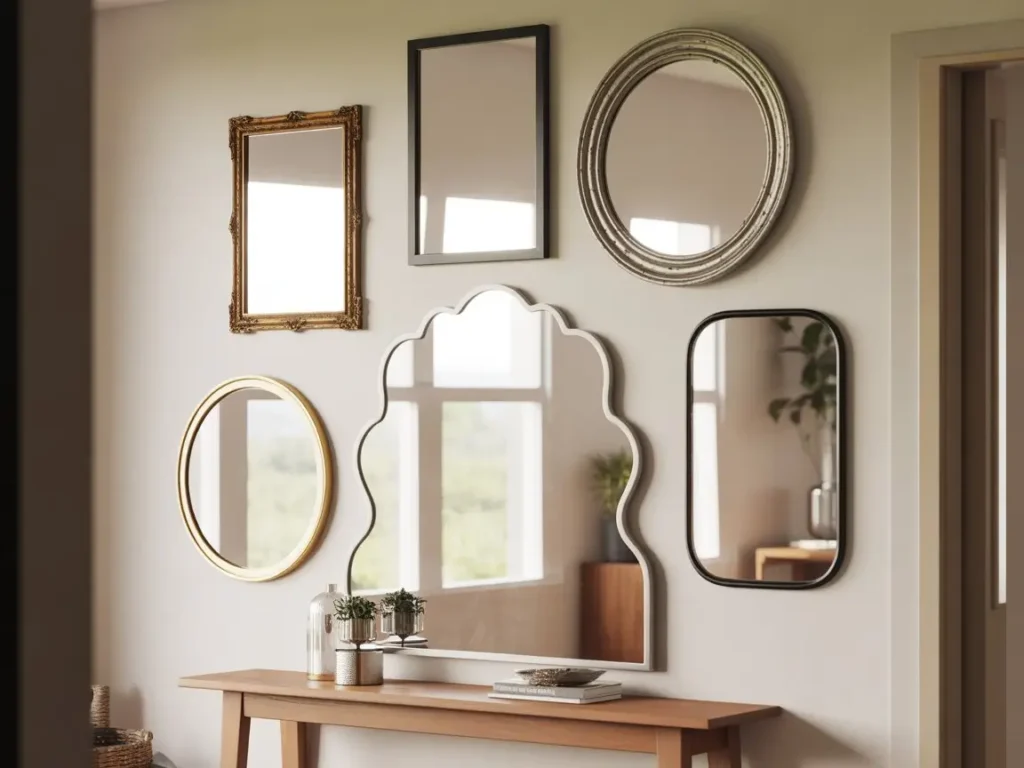
I was skeptical about this one. Gallery walls always looked like they required math skills I definitely don’t have. But here’s the secret: you can lay everything out on the floor first. Revolutionary, right?
I created a mirror gallery above my console table using five mirrors – all different shapes, all under $50 each, except for one splurge piece. Two round ones (IKEA and HomeGoods), two rectangular (one vintage from Facebook Marketplace, one modern from Target), and one fun scalloped-edge mirror from Anthropologie that I justified because everything else was so affordable.
My spacing trick: Use painter’s tape on the floor to mark out your wall dimensions. Arrange your mirrors within that tape outline, take a photo, then recreate it on your actual wall. Sounds obvious now, but it took me three failed attempts to figure this out. Keep mirrors 3-6 inches apart – any closer feels crowded, any farther feels disconnected.
The Window Illusion (For Rooms That Need Light Badly)
My friend Sophie’s basement guest room was basically a dungeon. One tiny window, painted shut and facing a brick wall. We found a mirror at HomeGoods with a windowpane-style frame – you know, the kind with the grid pattern that makes it look like a window. Hung it on the wall perpendicular to the real window, and suddenly the room felt like it had two sources of light instead of one sad little square.
Cost: $68 for the mirror. Impact: priceless. Her mother-in-law actually chose to stay in that room over the upstairs one on her last visit, which Sophie says is the ultimate proof it worked.
The Oversized Floor Mirror (My Favorite Lazy-Girl Solution)
Can I be honest? Sometimes I just don’t want to deal with studs and anchors and levels. The full-length floor mirror I got from CB2 ($179, which felt steep until I realized it eliminated all installation anxiety) lives in the corner of my bedroom. I can move it when I vacuum, angle it to catch different light throughout the day, and it makes my 12×12 bedroom feel at least 30% bigger.
Plus, having a full-length mirror means I actually check my outfit before leaving the house instead of discovering spinach in my teeth during a work meeting. Functional and beautiful – my nonna would approve.
What’s Actually Trending Right Now (And What’s Worth Your Money)
Look, I’m not usually one to chase trends. But after visiting about a dozen friends’ homes this past year and stalking way too many design accounts on Instagram, I’ve noticed what’s actually making people excited about mirrors in 2025:
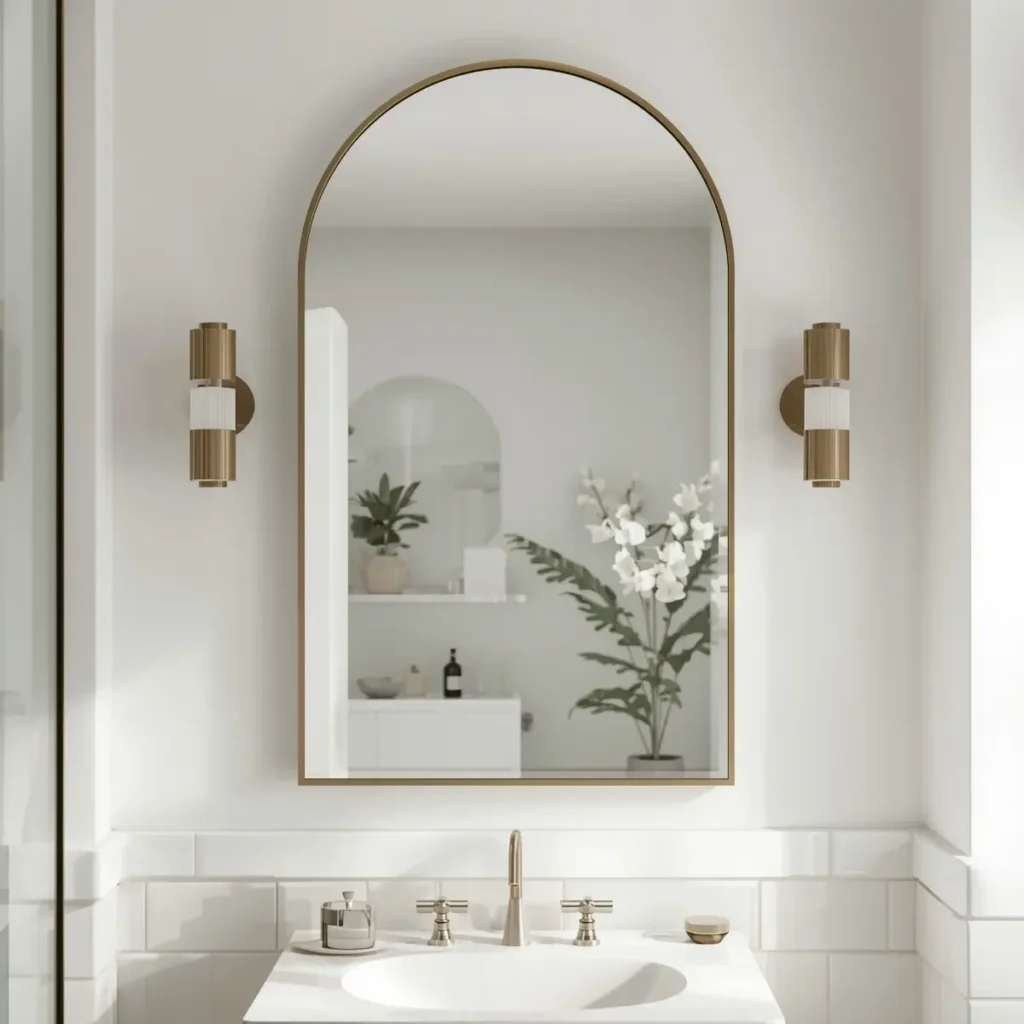
Arched and curved mirrors are everywhere, and for good reason. They soften all those hard edges we’ve accumulated – rectangular TVs, straight-lined furniture, angular architecture. I picked up an arched mirror from Target’s Threshold collection ($89) for my bathroom, and it genuinely makes the space feel calmer. The rounded top creates this gentle, almost spa-like atmosphere that my old rectangular medicine cabinet never achieved.
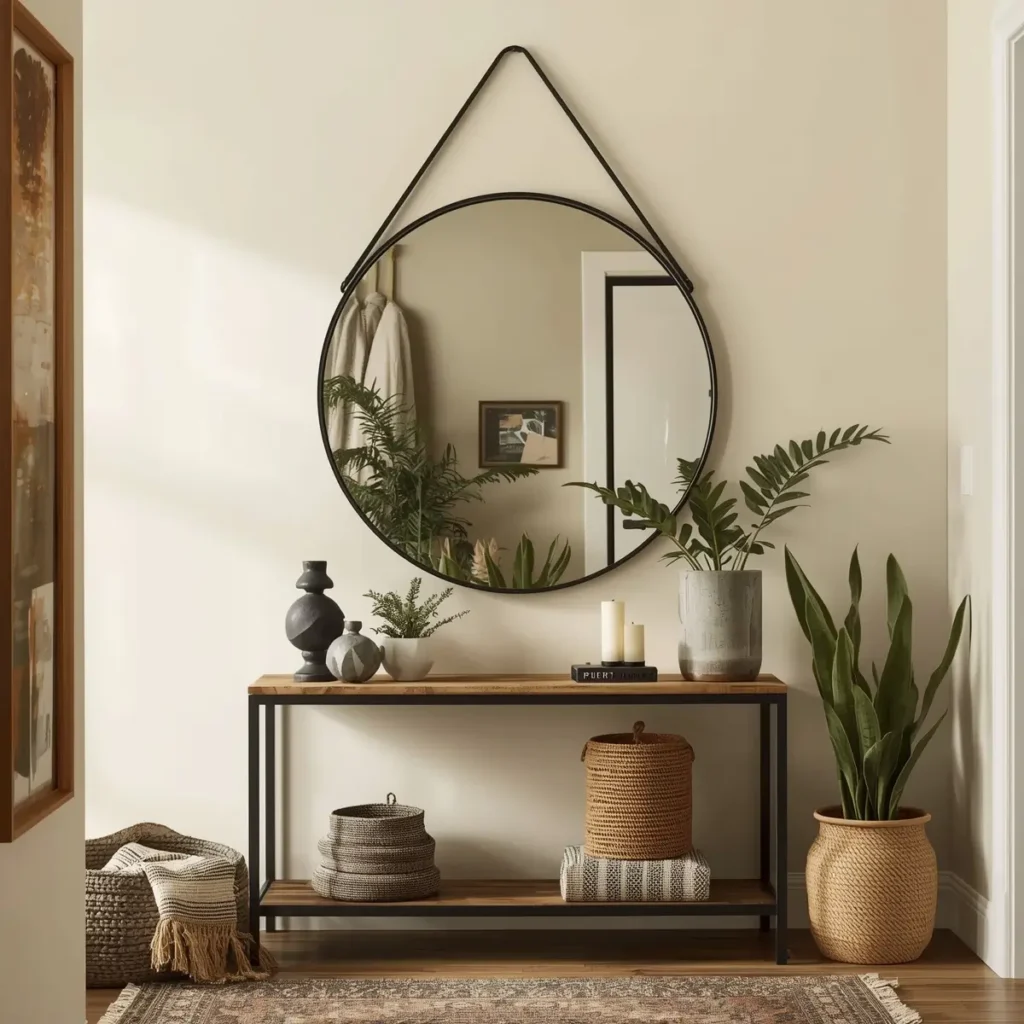
Matte black frames are having a moment, especially in modern spaces. My sister just hung a large round black mirror from West Elm above her entryway console, and it creates this striking focal point that grounds her whole eclectic-boho-meets-modern situation. It was $149, which she hemmed and hawed about for weeks, but she hasn’t stopped texting me photos of it from different angles.
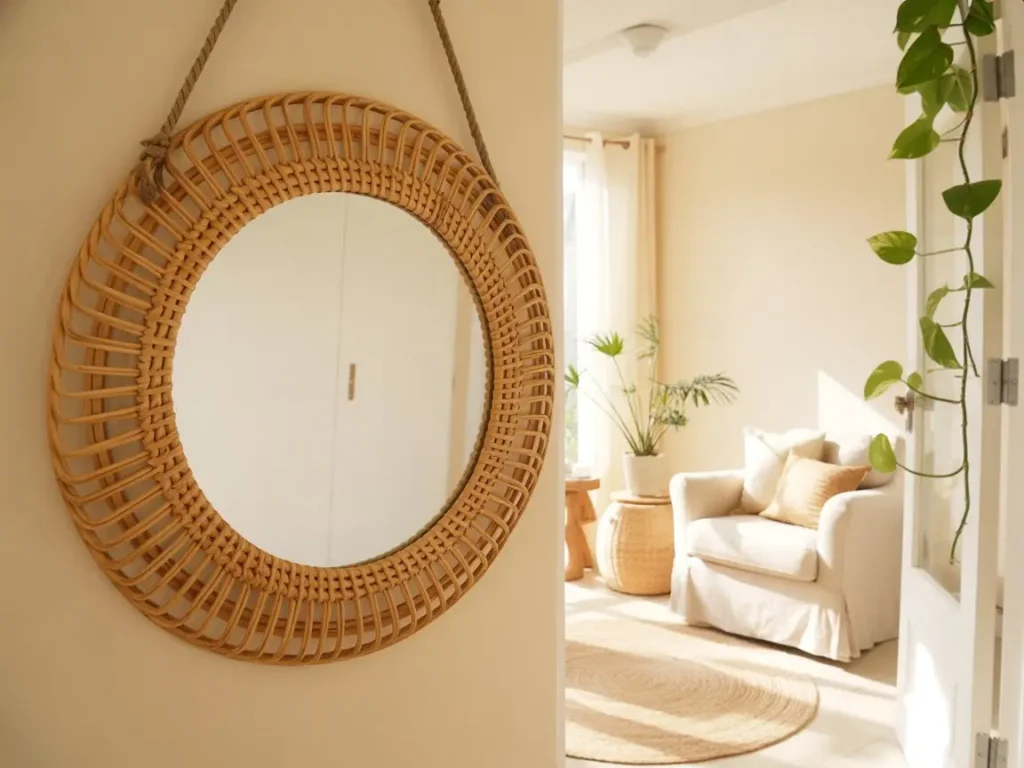
Natural materials – rattan, rope, light wood – these are perfect if you’re going for that coastal-casual vibe without going full nautical. I found a rattan-framed round mirror at World Market for $55 that brings so much warmth to my entryway. It’s one of those pieces that makes people ask where it’s from, which is always satisfying.
The Mistakes I Made So You Don’t Have To
Let’s talk about the fails, because there were several:
Mistake #1: Buying a mirror that was too small. I thought a 20×30 inch mirror would look “delicate and tasteful” above my 60-inch console table. It looked lost. Mirrors should be about two-thirds the width of the furniture below them. I learned this after living with a sad, tiny mirror for six months before finally accepting defeat.
Mistake #2: Not considering what the mirror reflects. My first mirror placement reflected directly into our cluttered coat closet. Every time I walked by, I got a perfect view of our chaos. Now I always stand where the mirror will hang and look at what it’ll show me. If it’s reflecting something ugly or cluttered, that’s not the spot.
Mistake #3: Skimping on hanging hardware. I tried to hang a 30-pound mirror with the little wire and hook that came with it. It lasted exactly four days before crashing down at 2 AM, scaring our cat half to death and giving me a minor heart attack. Now I use proper wall anchors rated for the weight (check the mirror’s label), and I haven’t had an issue since. Those heavy-duty anchors cost maybe $8 at Home Depot and are worth every penny for the peace of mind.
Your Quick-Start Mirror Wall Checklist
If you’re ready to finally tackle that blank wall, here’s what’s actually helped me get started without overthinking it:
- Measure your wall and your furniture – I use my phone’s measuring app now because I can never find my tape measure
- Consider your light sources – where are your windows? Can you position a mirror to catch that natural light?
- Think about what you want to feel – do you need a space to feel bigger, brighter, or just more interesting?
- Set a realistic budget – my sweet spot is $50-150 per mirror, mixing in thrift finds and clearance scores
- Start with one mirror – you can always add more, but beginning with one helps you understand the space
My shopping strategy: I check HomeGoods and Target first for affordable options, then browse West Elm and CB2 for that one splurge piece if I want to invest. IKEA’s mirror selection is surprisingly good for basics, and Facebook Marketplace often has vintage gold if you’re patient. I once scored an ornate vintage gold mirror for $25 that would’ve been $300+ retail.
Where This Journey Actually Leads
Here’s something unexpected that happened after I started really paying attention to mirrors: I began noticing light in a completely different way. How it moves through rooms, where it pools in the morning, how it changes the mood in the evening. That dark hallway I mentioned at the beginning? It’s now one of my favorite spots in our home. Sometimes I catch myself just standing there in the late afternoon when the light hits those mirrors just right.
Mirrors taught me that transformation doesn’t always require construction or huge budgets. Sometimes it just requires seeing your space differently – quite literally. That blank wall you’ve been staring at for months? It’s already full of potential. You just need the right reflective surface to reveal it.
Ready to Transform Your Space?
Start with one mirror – just one. Pick the wall that bothers you most, the space that feels darkest or smallest, or most forgotten. Find a mirror that speaks to you (not to Instagram, not to trends, but to you), and hang it at eye level.
Then step back and watch what happens when light starts dancing around your room in new ways.
I’d love to see your mirror transformations! What wall are you tackling first? Share your before-and-after moments with us – there’s something special about seeing these transformations through each other’s eyes.