Why a Built-in Bookcases is a Game-Changer
Have you ever looked at an empty wall and wondered how to make it both stylish and functional? A built-in bookcase is a perfect solution. Not only does it add character to a room, but it also provides much-needed storage while enhancing your home’s aesthetic. Whether you prefer a sleek modern look or a charming vintage feel, the right built-in bookcase can elevate any space.
In this guide, we’ll explore creative and practical built-in bookcase ideas to help you design a stunning focal point that complements your home’s style.
Table of Contents
The Basics of Styling a Built-in Bookcases
Before diving into specific built-in bookcase ideas, let’s go over some fundamental principles of bookcase styling. A well-organized and beautifully styled bookcase can instantly elevate the look of any room. These simple techniques will help you achieve a balanced, clutter-free, and visually appealing display.
Start with a Blank Canvas
The first step to styling your built-in bookcase is to clear everything off the shelves. Starting fresh allows you to remagine the space without distractions. Take this opportunity to clean the shelves and, if needed, apply a fresh coat of paint or wallpaper to enhance the backdrop. A neutral or contrasting color can make your decor pop and add a touch of personality to your display.
Group Items Thoughtfully
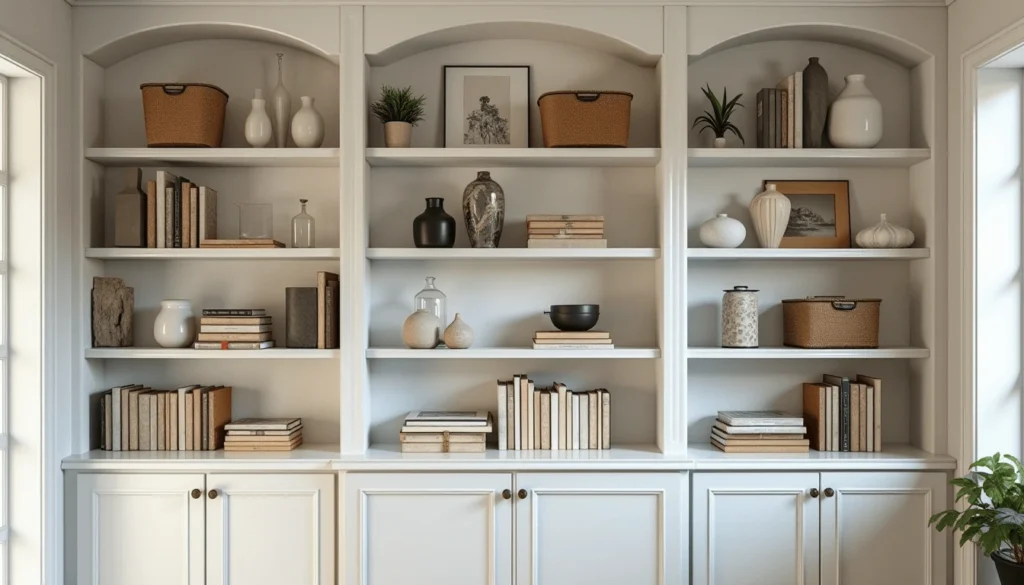
Rather than arranging books and decorative pieces in a straight line, create intentional groupings. Aim for two to three groupings per shelf to keep the arrangement dynamic yet uncluttered. Each grouping should have a mix of elements that complement each other in terms of size, shape, and color.
Mix Heights and Textures
Varying the heights of objects prevents your bookcases from looking flat or monotonous. Play with different heights by stacking books horizontally and placing decorative objects on top, or using tall vases and sculptures alongside smaller pieces.
Additionally, incorporate a variety of textures—wood, glass, ceramics, metal, and woven baskets—to add depth and visual interest. The contrast between smooth and rough, glossy and matte finishes keeps your bookcase display engaging.
Balance Large and Small Items
A well-styled bookcase should feel anchored and structured. Large items, such as framed artwork, oversized vases, or baskets, serve as the foundation. Place them strategically throughout the shelves to create stability and prevent the design from feeling too scattered.
Once you’ve positioned your larger pieces, fill in the gaps with smaller decorative items, such as candles, figurines, or potted plants. Be mindful not to overcrowd the space—negative space is just as important as the objects themselves, helping to maintain a clean and polished look.
By following these fundamental styling principles, you’ll create a beautifully curated built-in bookcase that enhances your space while reflecting your personality and design aesthetic.
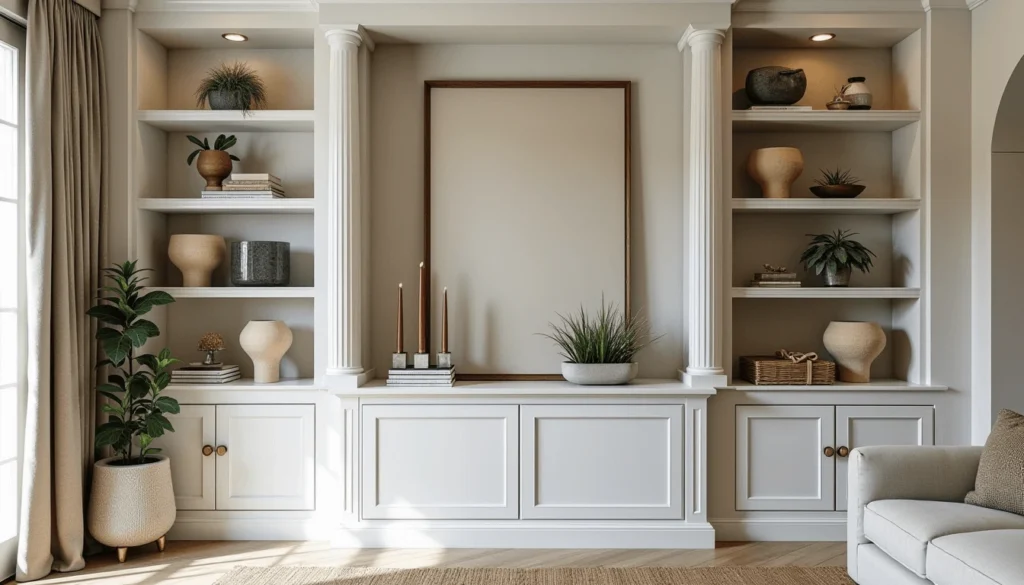
Creative Built-in Bookcase Ideas
A built-in bookcase isn’t just for storage—it’s an opportunity to showcase your style and creativity. Whether you prefer a clean, minimalist look or an eclectic, collected feel, these ideas will help you transform your shelves into a stunning focal point.
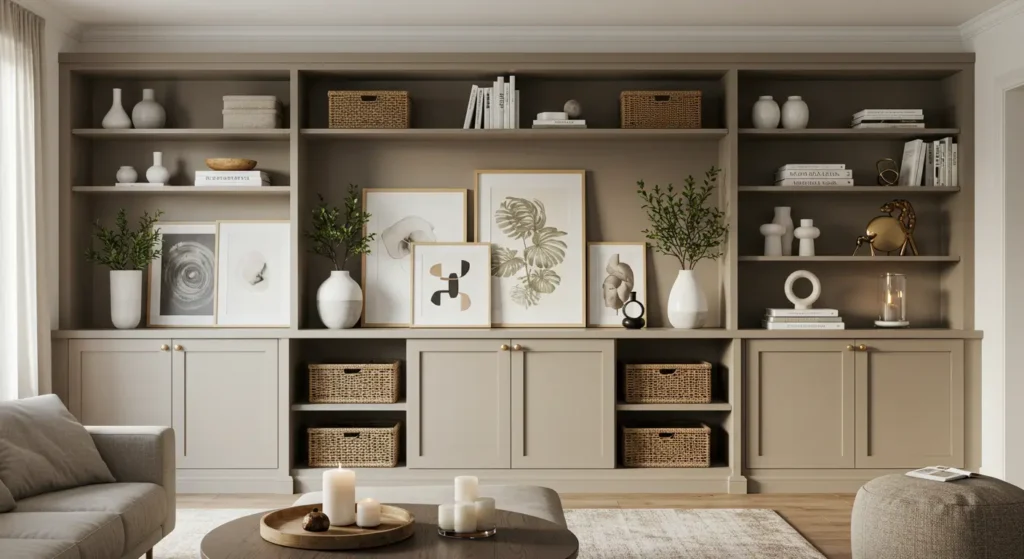
1. Layering Decor for Depth and Interest
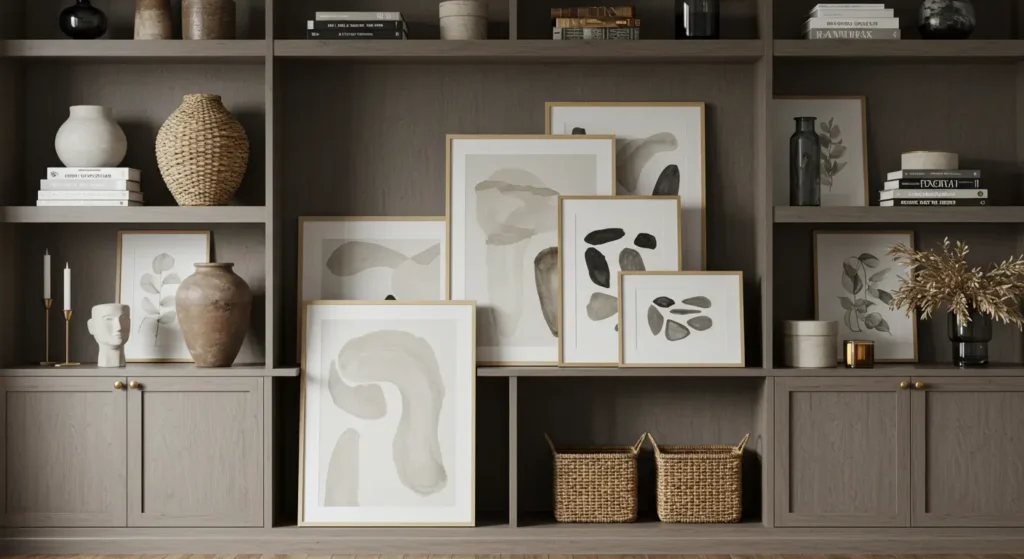
Layering is the key to creating a visually appealing bookcase. Instead of placing items in a single row, build depth by combining different shapes, sizes, and textures.
- Start with large items: Oversized vases, framed art, or woven baskets serve as anchor pieces and provide a structured base for your display.
- Add smaller accents: Fill in spaces with candles, small sculptures, or decorative boxes to create a sense of balance.
- Lean framed artwork: Instead of hanging art, prop framed pieces against the back of the bookcase for a casual, layered effect.
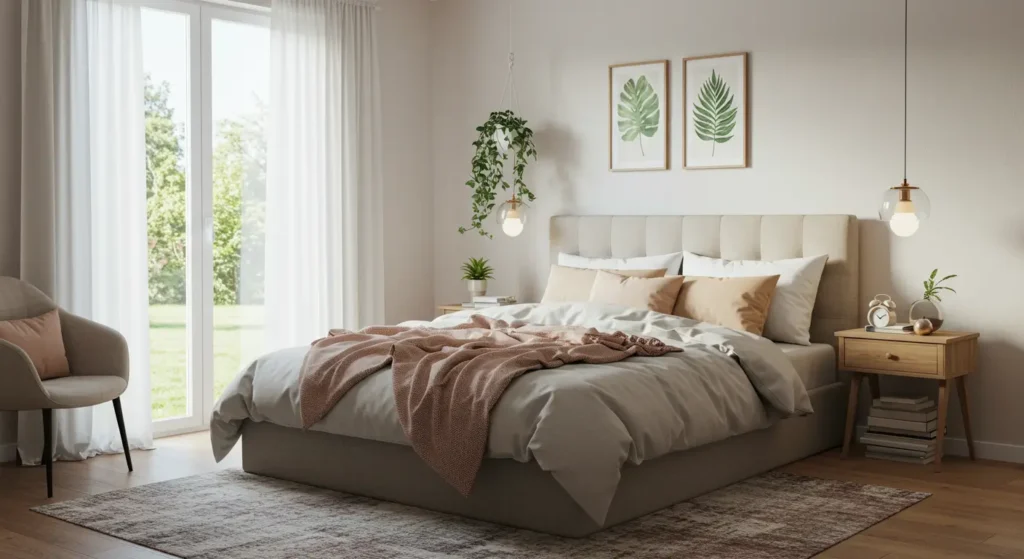
2. Incorporate Greenery for a Fresh Touch
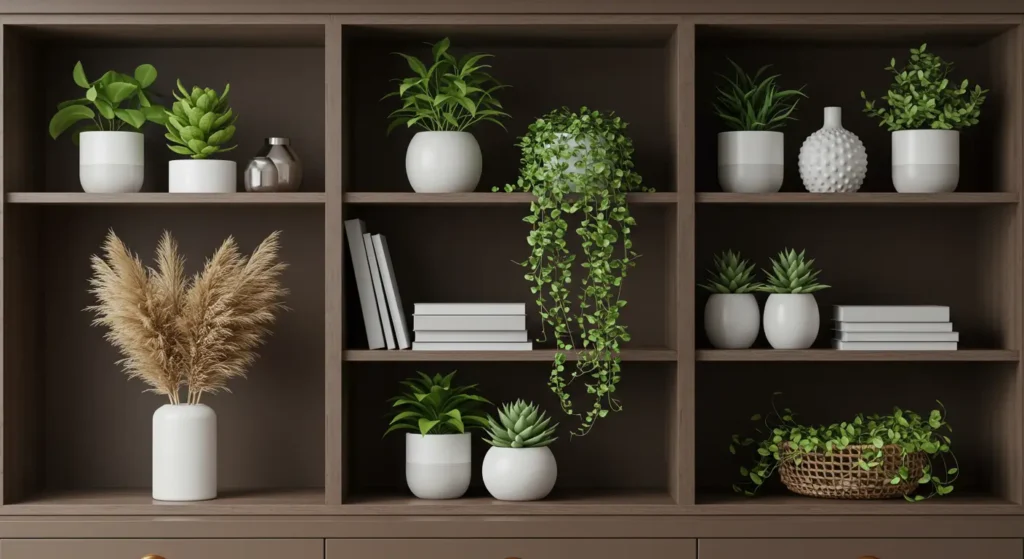
Nothing revitalizes a space like a touch of nature. Plants add warmth, texture, and a sense of liveliness to your bookcase.
- Use potted greenery: Small succulents or leafy plants in stylish pots make excellent accents.
- Cascading vines: Let trailing plants, such as pothos or ivy, drape down from a higher shelf for an organic, relaxed feel.
- Dried florals: If you prefer low-maintenance options, dried flowers or pampas grass in decorative vases add a natural yet sophisticated touch.
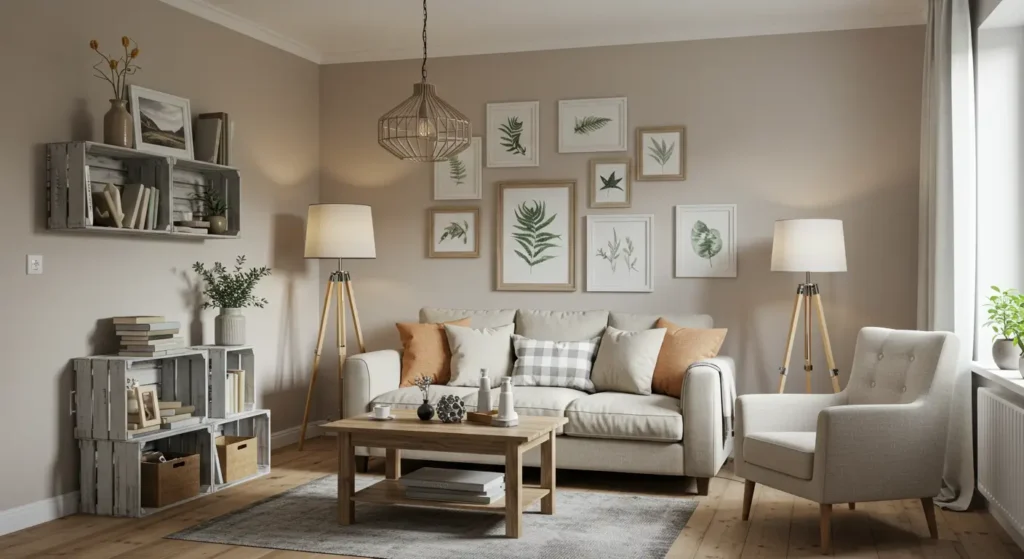
3. Personalize Your Space
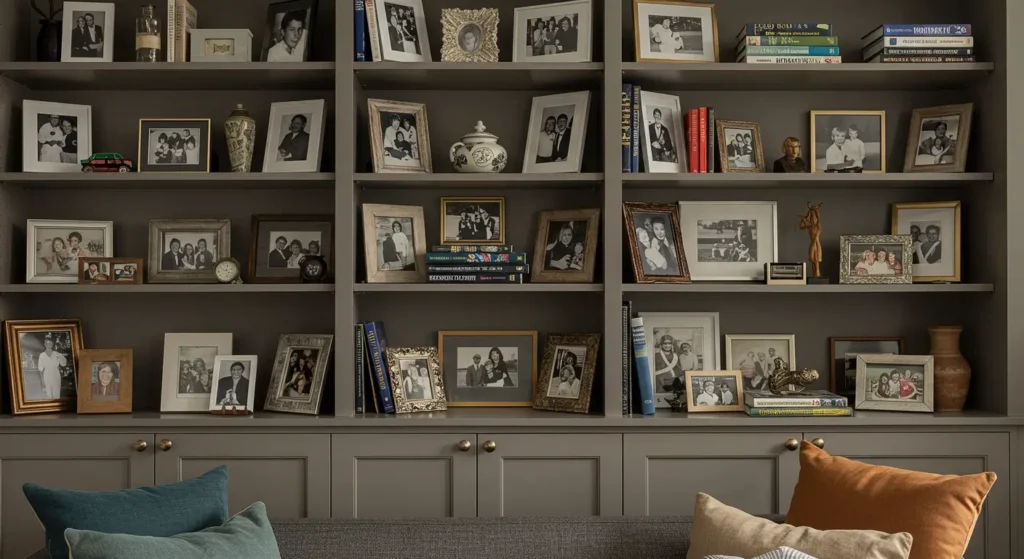
A well-styled bookcase should tell a story—your story. Adding personal elements makes your shelves feel warm and meaningful.
- Family photos: Display framed pictures of loved ones or travel memories in a way that blends seamlessly with other decor.
- Travel souvenirs: Showcasing unique finds from your travels, such as pottery, figurines, or textiles, adds character and a global touch.
- Meaningful keepsakes: Incorporate sentimental items, whether it’s a cherished heirloom, a framed handwritten note, or a collection of vintage postcards.
4. Play with Color and Theme
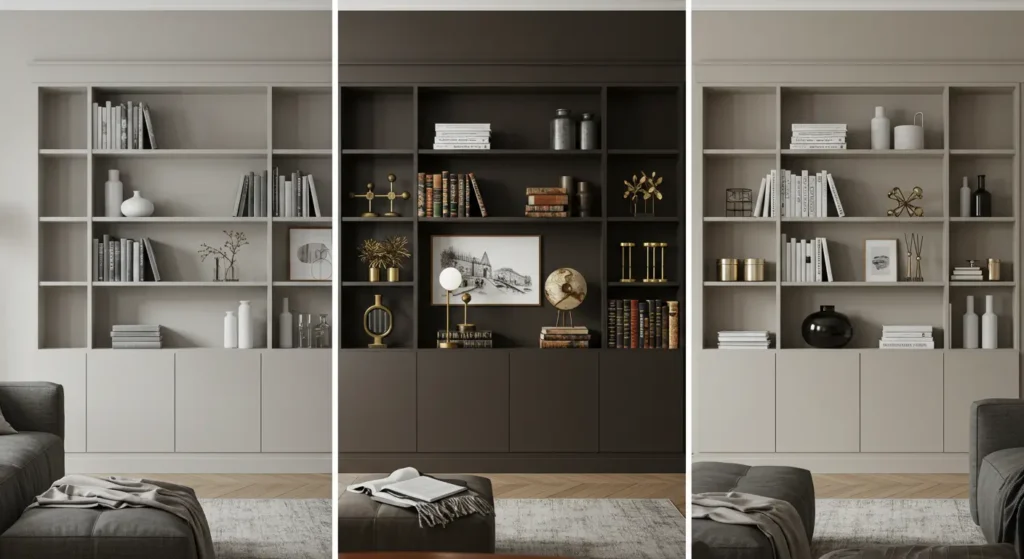
Your bookcase can set the tone for the entire room. Experiment with different color schemes or thematic elements to create a cohesive look.
- Monochromatic magic: Stick to a single color palette for a sophisticated and calming aesthetic.
- Vintage charm: Mix antique books, brass accents, and rustic decor for a timeless, nostalgic feel.
- Modern minimalism: Keep shelves uncluttered with neutral tones, sleek vases, and simple geometric decor for a clean and contemporary vibe.
5. Add Lighting for a Dramatic Effect
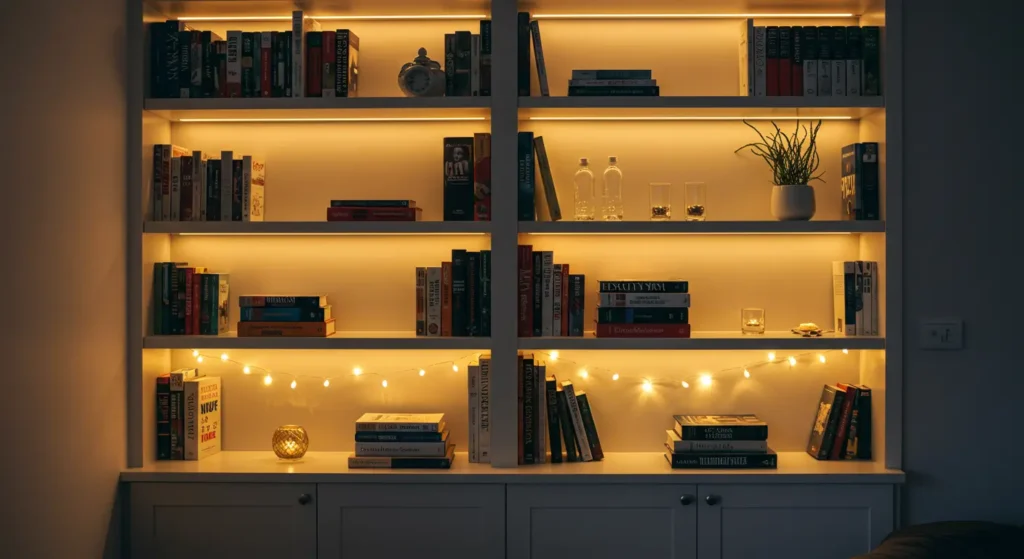
Lighting takes your built-in bookcase from basic to breathtaking. It highlights key pieces and adds warmth to your space.
- LED strip lights: Install under each shelf for a subtle, modern glow.
- String lights: Wrap fairy lights around objects or along the edges for a cozy ambiance.
- Small sconces or puck lights: Mount sconces above the bookcase or use battery-operated puck lights inside to illuminate select areas.
Final Thoughts: Bring Your Vision to Life
With the right built-in bookcase ideas, you can transform an ordinary wall into a stunning and functional statement piece. Whether your style is modern and sleek, rustic and cozy, or timeless and classic, there are countless ways to design and style your bookcase to match your aesthetic and needs.
From layering decor for depth to adding custom storage solutions, every detail contributes to a bookcase that’s both practical and visually appealing. Don’t be afraid to experiment with textures, colors, and lighting to create a unique look that enhances your space.
What’s your favorite built-in bookcase style? Share your thoughts in the comments below!