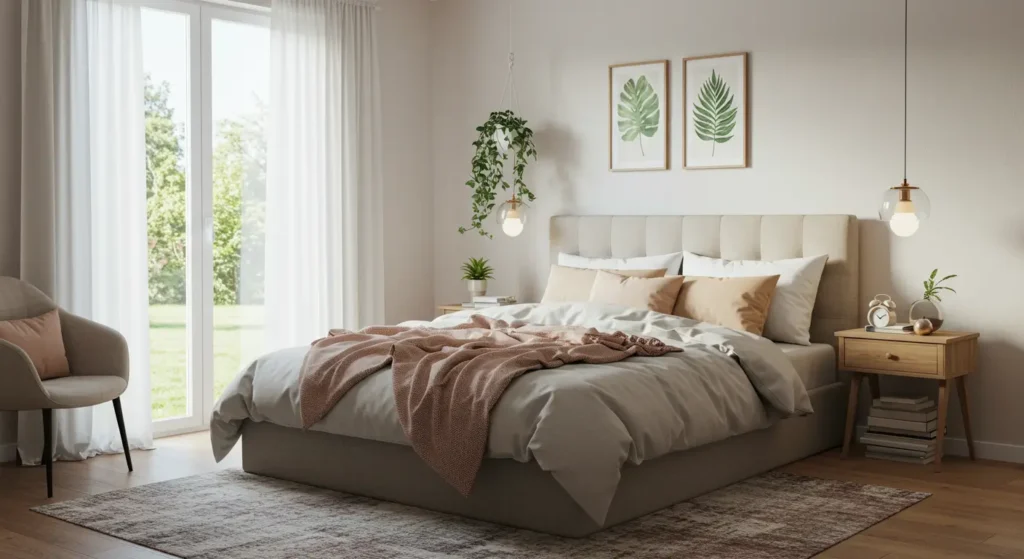
Imagine having stylish, built-in cabinets that fit your space perfectly—without the high cost of custom options. DIY built-in cabinets are a budget-friendly way to add both storage and style to any room. Whether you want to declutter your living space, upgrade your home office, or create a custom storage solution, this guide will walk you through the entire process, from planning to finishing touches. Let’s get started!
Table of Contents
How Hard Is It to Build DIY Built-In Cabinets?
The difficulty depends on your woodworking skills and comfort with power tools. Beginners may need a weekend to complete the project, while experienced DIYers could finish in a day. The key to success is careful planning, accurate measurements, and a little patience!
Essential Materials and Tools
Before you begin, gather everything you’ll need to build sturdy and stylish DIY built-in cabinets.
Materials:
- Plywood (3/4″, 1/2″, or 1/4″) – Forms the main structure.
- 1×2, 1×3, and 1×6 boards – Adds framing and support.
- Crown molding – Enhances the finished look.
- Wood screws – Keeps everything secure.
- Wood glue, caulk, and wood filler – Creates smooth, seamless joints.
- Paint or stain – Complements your home’s decor.
Tools:
- Circular saw or table saw – Cuts plywood to size.
- Drill with various bits – Helps with assembly.
- Kreg Jig – Makes pocket hole joints easy.
- Miter saw – Provides precise trim cuts.
- Brad nailer – Attaches trim and finishing details.
- Stud finder – Ensures a strong wall attachment.
With these materials and tools ready, you’ll be set for a smooth building process!
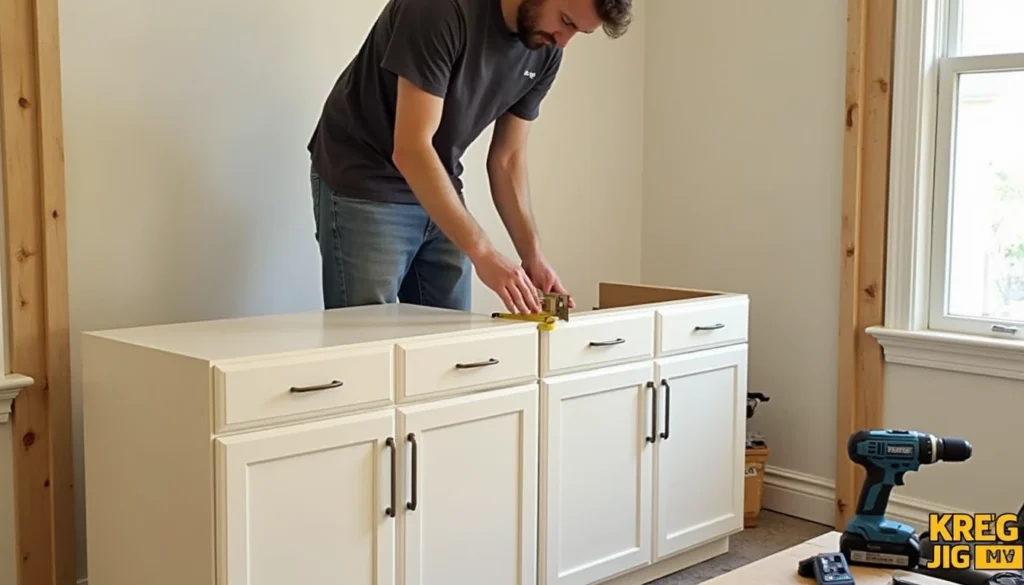
Step 1: Plan and Measure
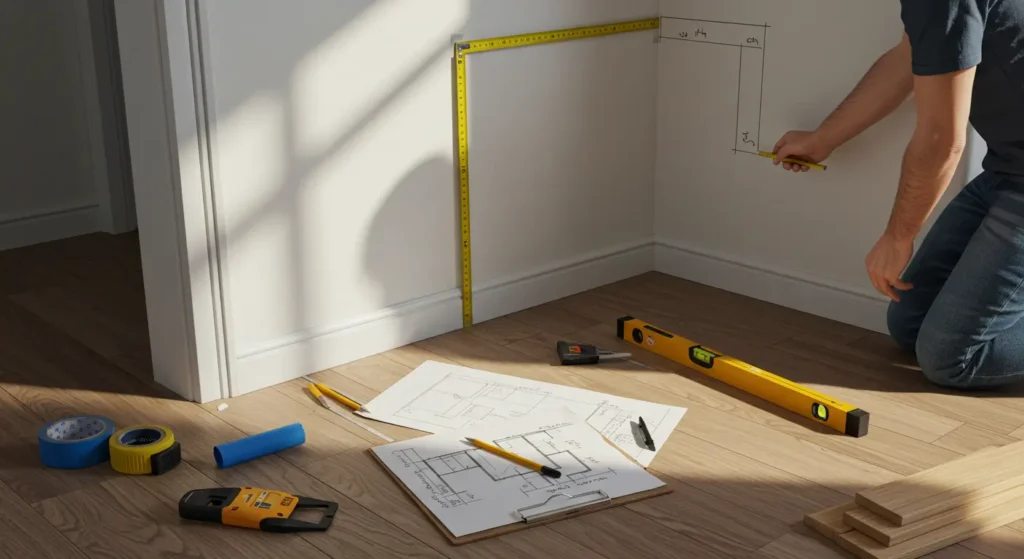
Before building, have a clear idea of where your cabinets will go and how they’ll function.
- Measure the space – Carefully record the height, width, and depth of the area. Account for obstacles like outlets, vents, or baseboards to ensure a perfect fit.
- Sketch your design – Draw a simple layout with dimensions. Plan the number of shelves, drawers, or compartments based on your storage needs.
A well-thought-out plan ensures a smoother build and a flawless final result!
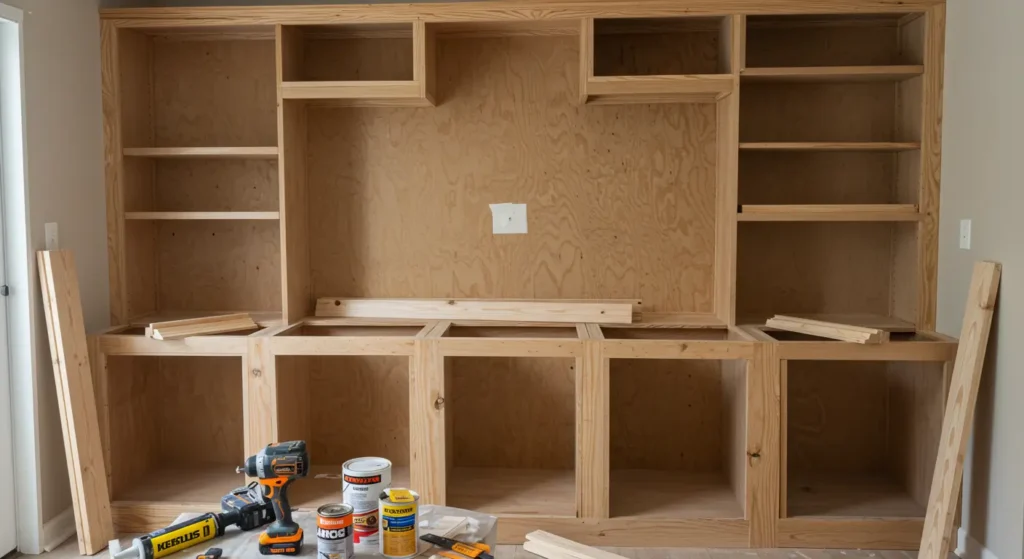
Step 2: Build the Cabinet Frame
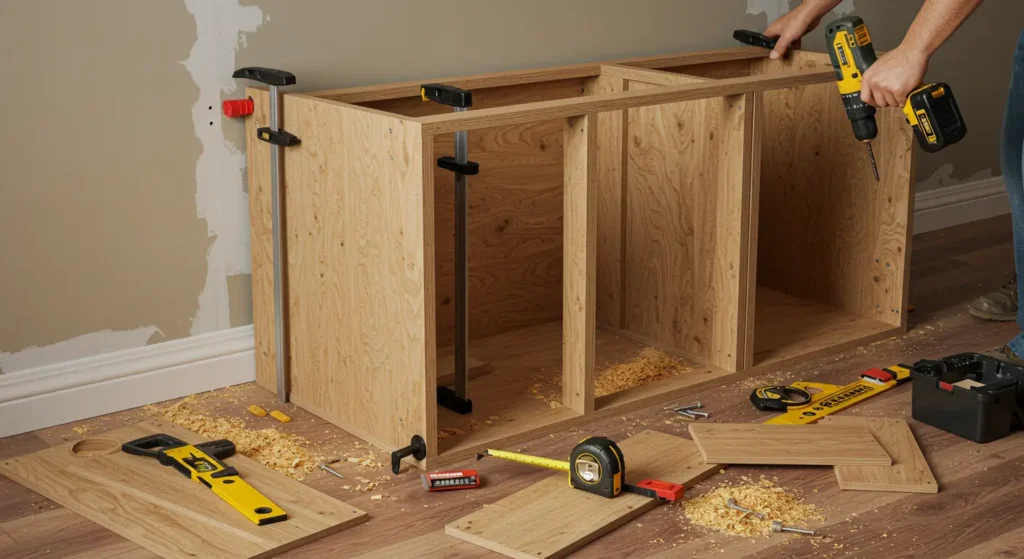
- Remove Baseboards – If baseboards are in the way, carefully cut through the caulk and remove them for a flush fit.
- Construct the Base – Cut plywood to size and assemble the base using wood screws. Double-check that it’s level before securing.
- Attach to Wall – Use a stud finder to locate wall studs, then secure the cabinet frame with screws to ensure a strong, stable installation.
A sturdy frame is the foundation of durable, professional-looking built-in cabinets!
Step 3: Add Shelves and Doors
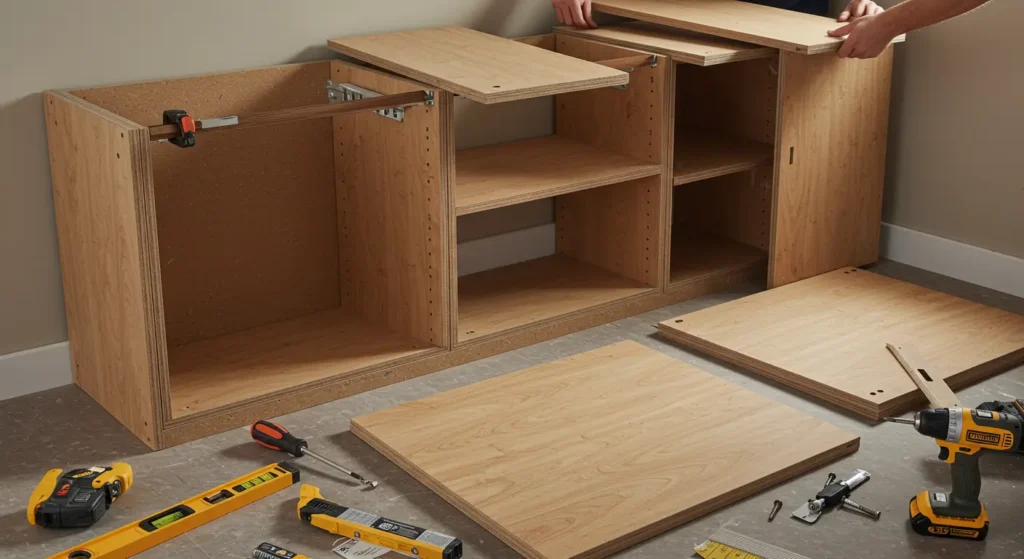
- Install Shelves – Choose adjustable brackets for flexibility or fixed supports for stability. Ensure they are level and evenly spaced.
- Build Doors – Cut plywood or MDF to fit the cabinet openings. Secure the pieces with wood glue and screws, then attach hinges carefully for smooth operation.
Well-fitted shelves and doors give your cabinets a polished, functional finish!
Step 4: Trim and Finish
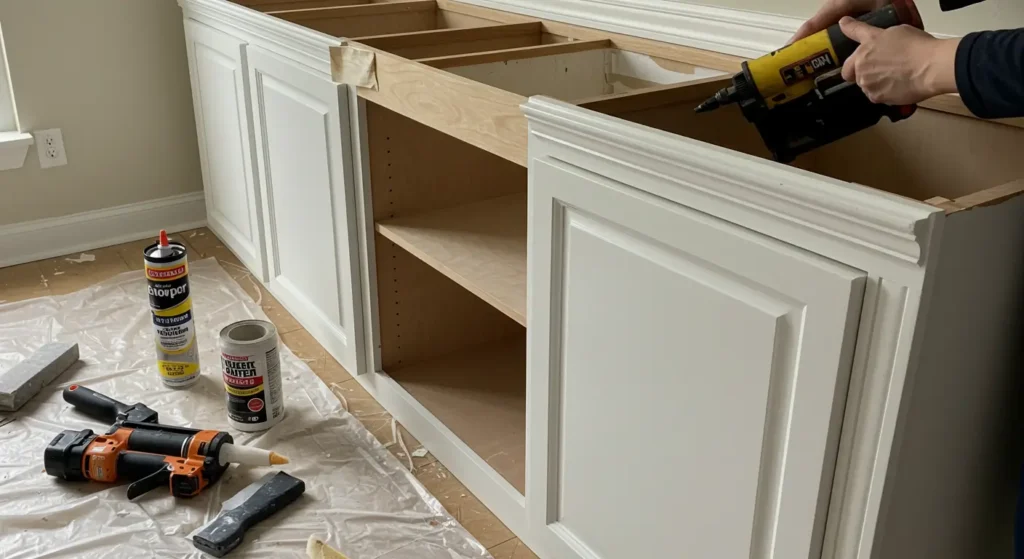
- Add Trim – Attach trim around the cabinet edges using wood glue and brad nails for a polished look.
- Fill Gaps – Apply caulk or wood filler to smooth out seams and create a seamless finish.
- Paint or Stain – Select a color or stain that matches your décor, then apply evenly for a professional touch.
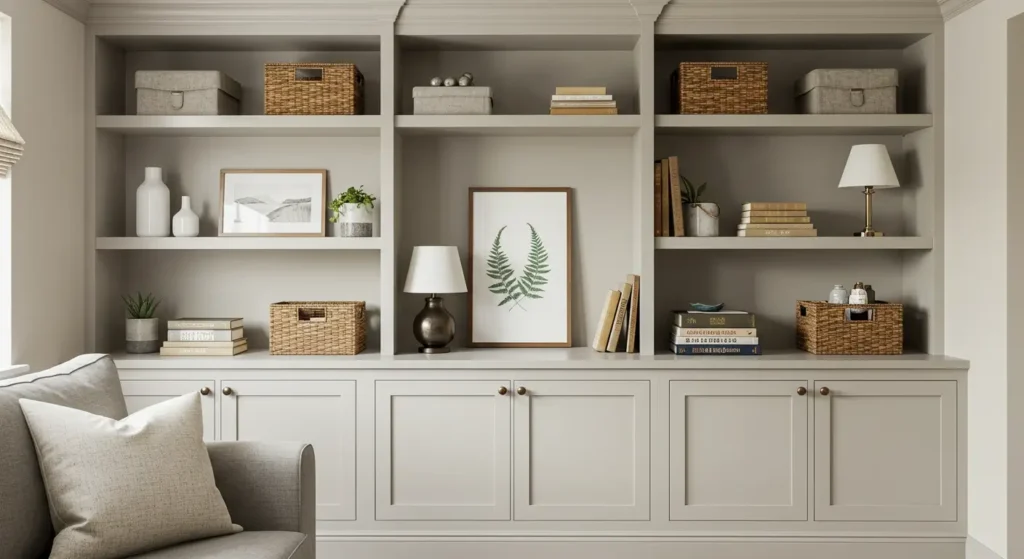
These final details enhance the look of your DIY built-in cabinets, making them appear custom and high-end!
Step 5: Install Hardware
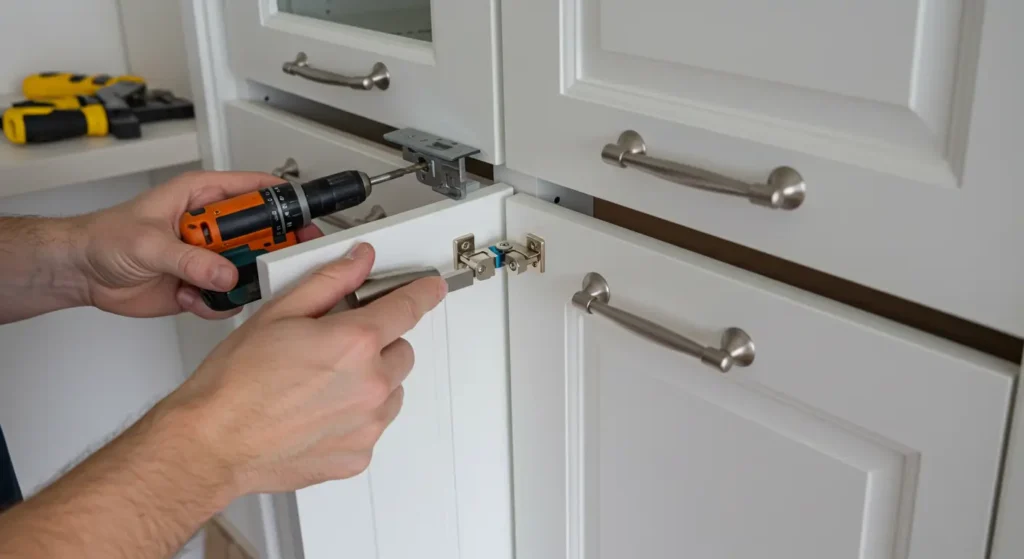
Finish up your project by installing hardware such as handles, knobs, or magnetic catches. These small additions not only enhance the functionality of your cabinets but also provide an extra touch of style.
- Handles and Knobs: Choose hardware that complements your decor—modern, rustic, or classic. Use a template to ensure even spacing when drilling holes.
- Magnetic Catches: Install these inside cabinet doors to keep them securely closed.
This final step adds polish and practicality to your DIY cabinets, making them look professional and ready to use!
Final Tips
- Measure Twice, Cut Once: Always double-check your measurements before cutting any materials to avoid costly mistakes.
- Pre-Sanded Plywood: Save time and effort by using pre-sanded plywood for a smoother finish and less prep work.
- Watch Tutorials: If you’re unsure about techniques like pocket hole drilling with a Kreg Jig, check out online tutorials. They’re a simple way to make assembly easier and boost your confidence!
These tips will help you tackle your DIY project like a pro and ensure a polished, professional result. Happy building!
By following these steps, you’ll be able to build custom, DIY built-in cabinets that fit your style and storage needs. Whether you’re looking to update a room or create new storage options, this project will enhance the look and function of your space. Plus, the satisfaction of seeing your vision come to life makes the work totally worth it!
FAQs About DIY Built-In Cabinets
- How much does it cost to build DIY built-in cabinets?
The cost depends on materials and size, but a DIY project is typically much cheaper than custom cabinetry. Expect to spend between $200–$800. - How long does it take to build DIY built-in cabinets?
If you’re a beginner, plan for a weekend project. More experienced builders may complete it in a day. - Do I need advanced woodworking skills to build built-in cabinets?
No! With proper planning, patience, and basic tool knowledge, even beginners can successfully complete this project. - What type of wood should I use for built-in cabinets?
Plywood (3/4″, 1/2″, or 1/4″) is commonly used for durability. MDF is another budget-friendly option for doors and shelving. - Can I build built-in cabinets without power tools?
While hand tools can be used, power tools like a circular saw, drill, and brad nailer make the process much easier and faster.