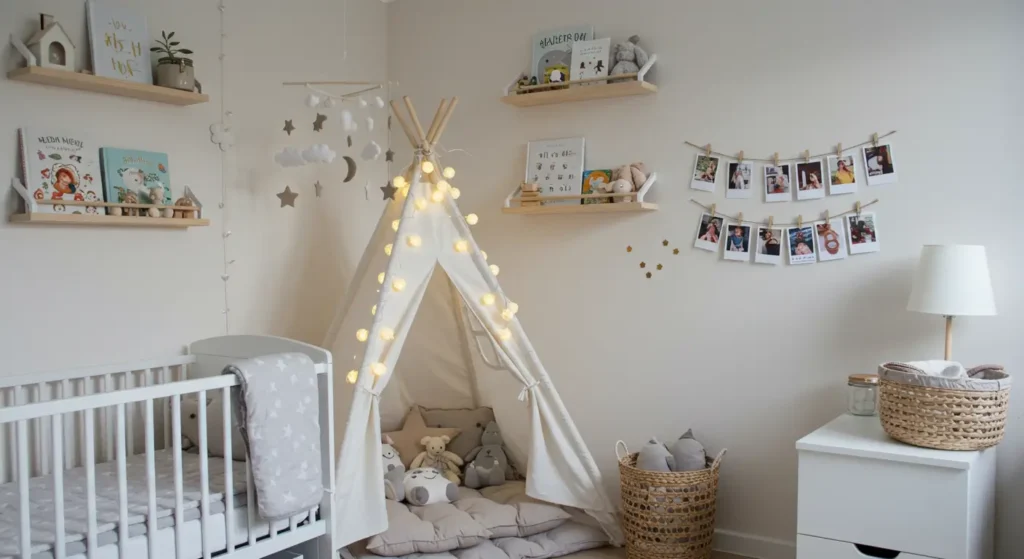
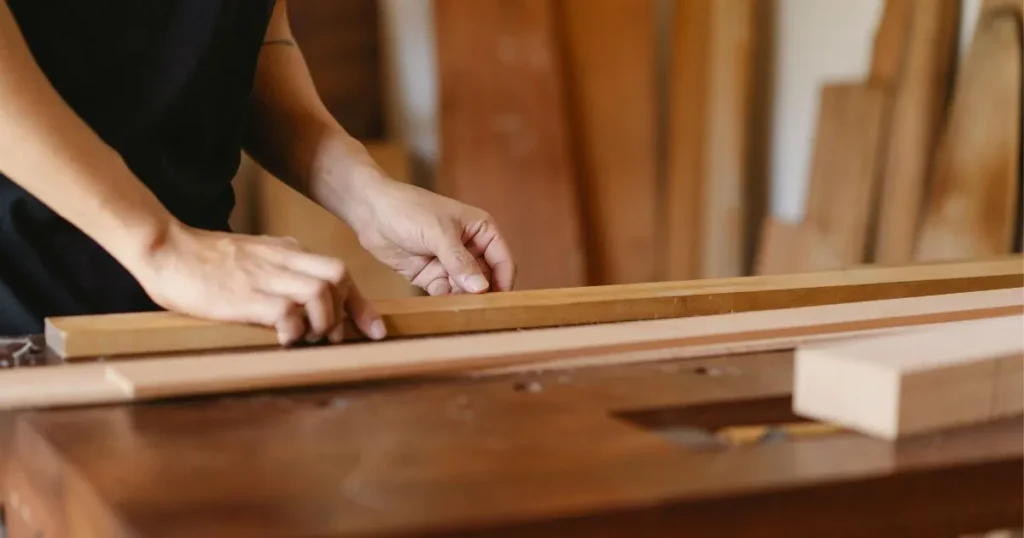
Creating a beautiful and functional nursery is one of the most exciting milestones for expectant parents. This special space will serve as a haven for your little one—a place of comfort, care, and cherished memories. While designing a nursery can sometimes feel overwhelming, embracing DIY projects offers a rewarding way to infuse your creativity, love, and personal style into the room.
Table of Contents
DIY nursery projects go beyond aesthetics; they provide practical solutions tailored to your family’s unique needs. From adding sentimental touches to crafting custom decor, these projects allow you to create a space that reflects your vision while saving money. With some planning, creativity, and a bit of hands-on effort, you can transform any room into a cozy and magical retreat for your baby.
Below, we’ve outlined some detailed and creative ideas for DIY nursery projects that can inspire you to design a space as unique as your growing family.
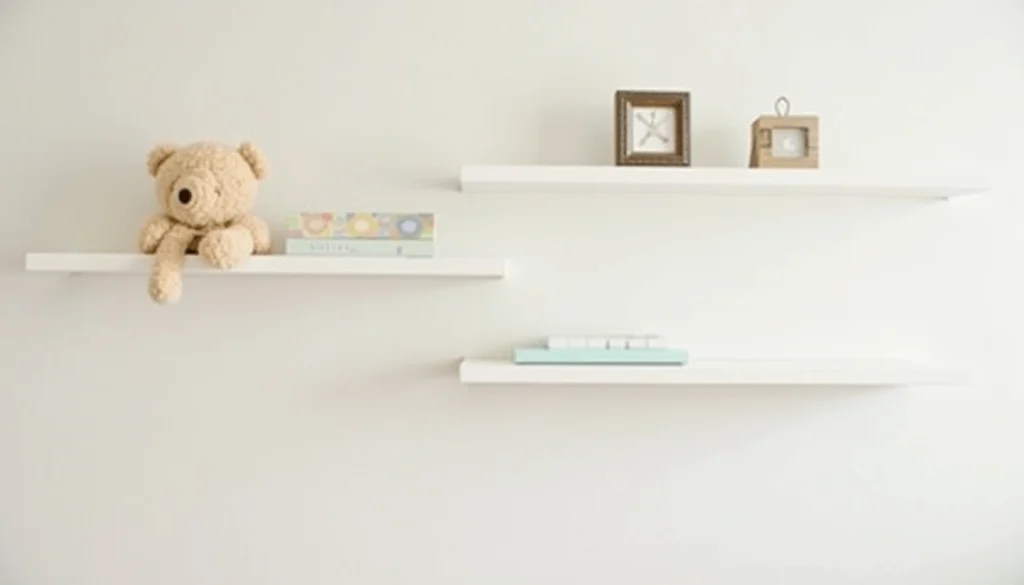
1. DIY Nursery Projects Floating Shelves
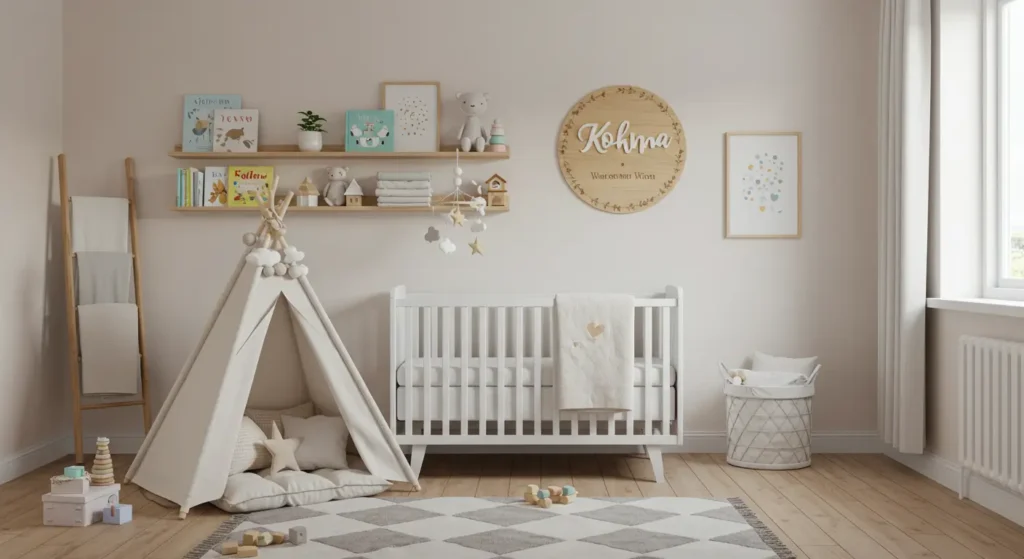
Floating shelves are an elegant and functional addition to any nursery. Not only do they provide a stylish way to display books, toys, and keepsakes, but they also help keep the room organized by utilizing vertical space effectively. These shelves can be tailored to your nursery’s theme or color palette, making them a versatile and budget-friendly decor option. Best of all, creating them yourself allows you to ensure the shelves meet your specific needs and preferences.
Why Choose Floating Shelves?
- Space-Saving Design: Perfect for small nurseries where every square foot matters, floating shelves free up floor space.
- Customizable: You can adjust the size, shape, and finish to complement your nursery’s style, whether modern, rustic, or whimsical.
- Multi-Functional: Use them to showcase cherished items like framed baby photos, potted plants, or a curated collection of children’s books.
Materials Needed
- Wooden Boards: Choose durable wood like pine, oak, or birch for a sturdy foundation.
- Brackets or Mounting Hardware: Ensure they are strong enough to support the weight of the items you plan to display.
- Screws and Wall Anchors: Necessary for securely attaching the brackets to the wall.
- Paint or Stain: Customize the color to match your nursery’s aesthetic.
- Sandpaper: Smooths the edges for a professional finish.
- Tools: Drill, screwdriver, measuring tape, and level.
Step-by-Step Instructions
- Measure and Plan: Decide on the number of shelves, their placement, and length. Measure the wall space to ensure an even and balanced look.
- Prepare the Wood: Cut the wooden boards to your desired size. To remove rough places, sand the surfaces and edges..
- Paint or Stain: Apply your chosen finish and allow the boards to dry completely. For a playful touch, consider adding pastel hues or patterns that align with the nursery theme.
- Install the Brackets: Use a level to mark where each bracket will go. Securely attach them to the wall using screws and wall anchors if needed for extra support.
- Mount the Shelves: Place the wooden boards onto the brackets and fasten them securely. Double-check for stability.
- Style the Shelves: Arrange books, stuffed animals, decorative bins, or sentimental items. Avoid overcrowding to maintain a clean and organized look.
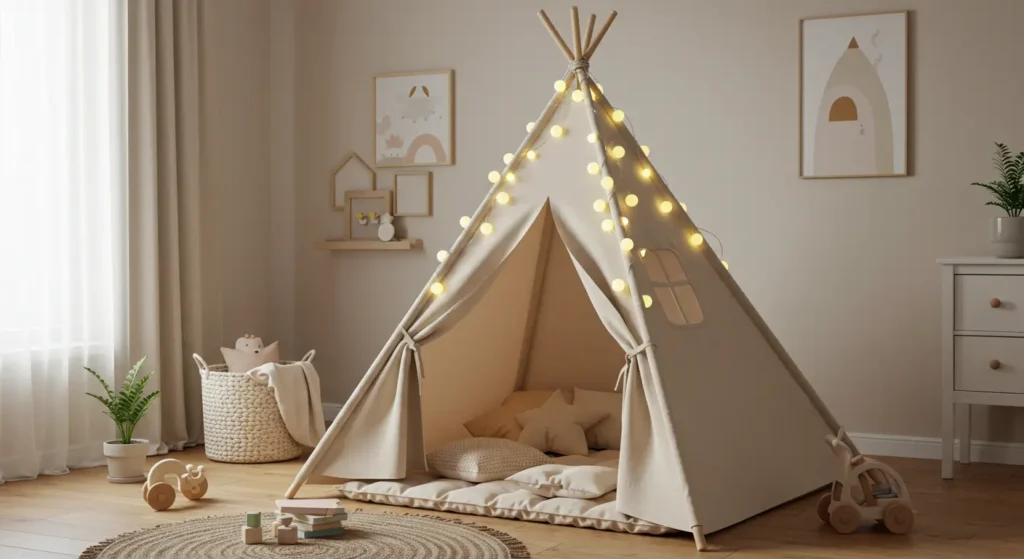
2. Teepee Tent
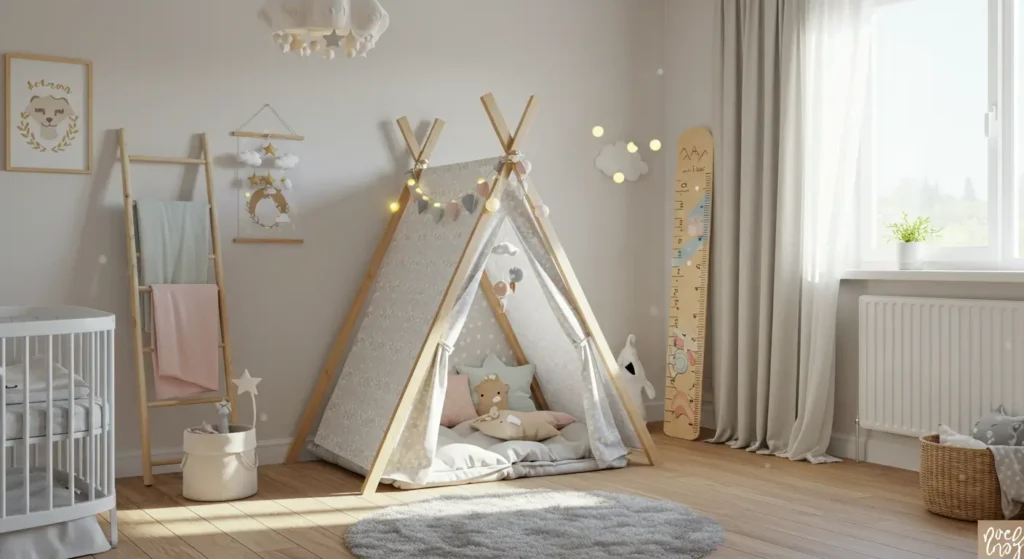
A DIY teepee tent is a delightful addition to any nursery, offering a whimsical and cozy spot for your little one to play, read, or relax. As your child grows, the teepee can become their personal hideaway or a creative play area. Building one yourself allows you to match it perfectly to the nursery’s theme and add a personal touch that makes it even more special.
Why Choose a Teepee Tent?
- Versatile and Fun: It serves as both a decorative element and a functional space for imaginative play.
- Encourages Development: Provides a safe and inviting area for reading or quiet time, fostering creativity and independent play.
- Customizable Design: You can select fabrics, colors, and patterns that align with your nursery’s aesthetic.
Materials Needed
- Wooden Rods (4–5): Choose lightweight yet sturdy rods, typically 5 to 6 feet long, to form the frame.
- Fabric of Your Choice: Opt for soft and durable materials like cotton, canvas, or muslin in patterns or colors that match your nursery’s theme.
- Twine or Rope: Used to secure the wooden rods at the top.
- Paint (Optional): For decorating the wooden rods or adding a splash of color to the teepee.
- Decorative Add-Ons: Heat transfer vinyl, decals, pompoms, or tassels to personalize the tent.
Step-by-Step Instructions
- Assemble the Frame:
- Arrange the wooden rods into a cone-like shape, crossing them at the top.
- Secure them tightly with twine or rope, ensuring the frame is stable and evenly spaced.
- Prepare the Fabric:
- Measure and cut the fabric to fit around the frame, leaving an opening for an entrance.
- To stop fraying, hem the edges or apply fabric adhesive.
- Drape and Secure the Fabric:
- Wrap the fabric around the frame, ensuring it overlaps slightly at the entrance.
- Attach the fabric to the wooden rods with adhesive strips, fabric ties, or small nails.
- Personalize the Teepee:
- Paint the wooden rods with patterns or solid colors for added flair.
- Add decals, your child’s name, or themed embellishments like stars or animals using heat transfer vinyl.
- Add Cushions and Accessories:
- Place soft cushions, a small rug, or a blanket inside the tent to make it cozy and inviting.
- Include a string of fairy lights or a garland for a magical touch.
3. DIY Nursery Mobile
A nursery mobile is a beautiful and functional addition to your baby’s crib area, offering visual stimulation and entertainment. Crafting your own allows you to tailor the mobile to your nursery’s theme, making it a truly unique and personal decoration. With endless possibilities for designs, materials, and colors, a DIY mobile can become a stunning focal point in the room.
Why Make a DIY Nursery Mobile?
- Customizable: You can choose shapes, colors, and themes that match your nursery decor or hold special meaning.
- Cost-Effective: Creating your own mobile is often more affordable than buying a pre-made one.
- Engages Your Baby: The movement and colors provide visual stimulation, which can help with early development and focus.
Materials Needed
- Embroidery Hoop: Serves as the frame for the mobile. Choose a size that fits well above your crib.
- String or Thread: Use clear fishing line for an invisible look or colorful thread to match your design.
- Felt or Paper Shapes: Create shapes like clouds, stars, moons, animals, or geometric designs. Felt is durable and soft, while paper offers a lightweight, delicate option.
- Glue or Needle and Thread: To secure the shapes to the strings.
- Scissors: For cutting out shapes and trimming strings.
- Decorative Add-Ons (Optional): Beads, pompoms, or ribbons to add texture and detail.
Step-by-Step Instructions
- Prepare the Shapes:
- Using durable paper or felt, cut out the shapes of your choice. You can either freehand your creations or utilize stencils.
- Layer the felt pieces if you want to add dimension or include stitched details for a handmade touch.
- Attach Strings to the Shapes:
- Tie or glue strings to each shape, ensuring they are securely attached. Vary the lengths of the strings to create a dynamic and balanced look.
- Assemble the Hoop:
- Attach the strings to the embroidery hoop, spacing them evenly around the frame.
- Adjust the lengths as needed to create a visually appealing arrangement.
- Balance the Mobile:
- Test the balance by holding the hoop from its center point. Adjust the placement of the strings or add small weights to ensure the mobile hangs evenly.
- Create the Hanging Mechanism:
- Attach three or four strings to the hoop, bringing them together at the top to form a single hanging point.
- Tie the strings securely, leaving a loop at the top for easy mounting.
- Add Finishing Touches:
- Embellish the hoop with ribbon, paint, or washi tape to match the theme.
- Include additional decorative elements like beads or tassels for extra flair.
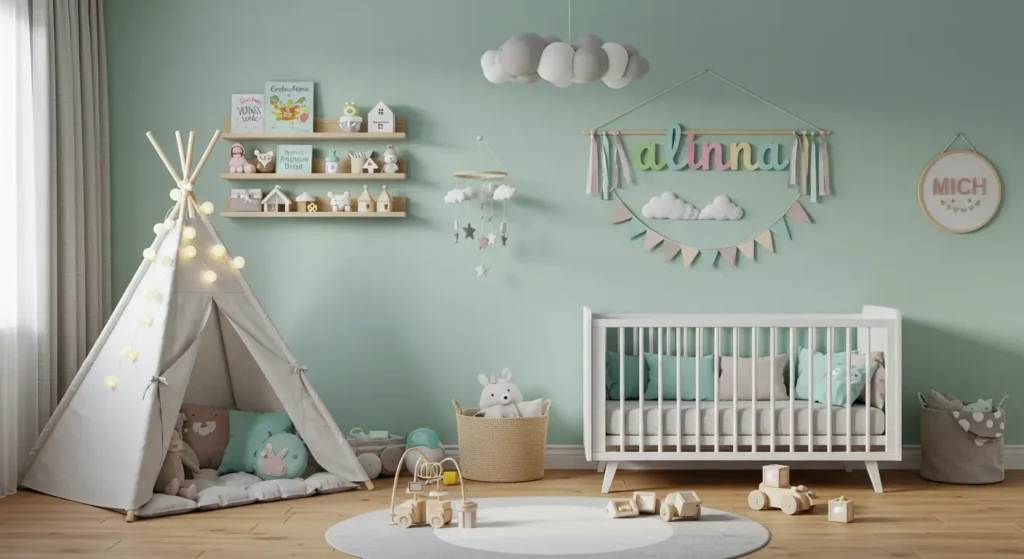
4. Personalized Name Sign
Adding a personalized name sign to your nursery is a sweet and artistic way to commemorate the birth of your child.Whether displayed on the wall, above the crib, or on the nursery door, this project allows you to infuse your child’s name into the room’s design, making it truly unique and special.
Why Create a Personalized Name Sign?
- Customizable: You can choose colors, fonts, and styles that align with your nursery’s theme.
- Memorable: A name sign becomes a cherished keepsake as your child grows.
- Affordable: DIY options are often less expensive than pre-made custom signs, giving you control over the design and cost.
Materials Needed
- Wooden Letters: Available in various fonts and sizes at craft stores.
- Paint or Stain: Choose shades that match or contrast with your nursery decor.
- Brushes or Paint Sponges: For even application of paint or stain.
- Adhesive: Use wall-safe adhesive strips, mounting tape, or small nails for hanging.
- Optional Decorations: Glitter, faux flowers, ribbons, or decals for extra flair.
- Sandpaper: To smooth out any rough edges on the wooden letters.
Step-by-Step Instructions
- Select Your Letters:
- Choose wooden letters that spell out your baby’s name. Decide on the size and font that will best suit your design vision.
- Prepare the Letters:
- Lightly sand the letters to remove any rough spots. This helps the paint or stain adhere smoothly.
- Paint or Stain the Letters:
- Apply a base coat of paint or stain using brushes or sponges. You can use solid colors, ombre effects, or patterns to add interest.
- Allow the paint or stain to dry completely, then apply additional coats if needed.
- Decorate the Letters (Optional):
- Add glitter, decals, or small decorative items like faux flowers or bows to personalize the letters further.
- Plan the Layout:
- Arrange the letters on a flat surface to determine spacing and positioning before attaching them to the wall or door.
- Attach the Letters:
- Use wall-safe adhesive strips for a damage-free installation, or mount them with small nails for a more permanent solution.
- Ensure the letters are level and evenly spaced.
- Add Finishing Touches:
- Surround the name sign with additional decor, like fairy lights, framed prints, or a painted backdrop, to create a cohesive look.
5. DIY Blanket Ladder
A DIY blanket ladder is a perfect addition to your nursery, combining style and functionality. It provides a charming way to display and organize blankets while adding a touch of rustic or modern decor to the room. This simple project is easy to customize and requires minimal materials, making it a rewarding weekend task.
Why Make a Blanket Ladder?
- Space-Saving: Keeps blankets off the floor and neatly stored without taking up much space.
- Accessible: Provides an easy-to-reach spot for frequently used blankets or swaddles.
- Decorative: Adds vertical interest to the room and complements various decor styles, from farmhouse chic to minimalist.
Materials Needed
- Wooden Dowels or Boards: For the ladder rungs and sides (ensure the wood is smooth to avoid snagging blankets).
- Screws or Nails: To secure the pieces together.
- Wood Glue: For added stability and support.
- Sandpaper: To smooth edges and surfaces.
- Paint or Stain: Customize the ladder to match the nursery’s color scheme.
- Measuring Tape and Saw: For accurate cuts.
Step-by-Step Instructions
- Plan Your Design:
- Decide on the ladder’s height and width based on the available space in the nursery.
- Typically, a 5-foot ladder with 4-5 rungs works well for most rooms.
- Cut the Wood:
- Measure and cut two longer boards for the sides and several shorter dowels or boards for the rungs.
- Sand all pieces to remove splinters or rough edges.
- Assemble the Ladder:
- Lay the two longer boards parallel to each other on a flat surface.
- Space the rungs evenly between the boards, leaving about 10–12 inches between each rung.
- Use wood glue to attach the rungs to the side boards, ensuring they are level and aligned.
- Secure with Screws or Nails:
- Reinforce the joints by screwing or nailing the rungs into place. This adds strength to the ladder and ensures it can hold multiple blankets.
- Finish the Ladder:
- Apply paint or stain to match your nursery’s decor. Consider neutral tones for a classic look or pastel colors for a playful touch.
- Allow the finish to dry completely before use.
- Position in the Nursery:
- Lean the ladder against a wall in the nursery, ensuring it is stable and secure.
- Drape blankets, swaddles, or small quilts over the rungs for a decorative and functional display.
6. Growth Chart
A DIY growth chart is a meaningful and practical addition to your nursery. It not only serves as a decorative piece but also becomes a cherished keepsake as you track your child’s growth milestones over the years. With minimal materials and effort, you can create a customized growth chart that reflects your nursery’s style.
Why Make a Growth Chart?
- Personalized Keepsake: Capture your child’s growth in a way that can be preserved even if you move to a new home.
- Decorative Touch: Adds charm and character to the nursery wall or corner.
- Interactive Fun: Involves the whole family in marking special milestones.
Materials Needed
- Wooden Board: Choose a smooth, flat board of appropriate length, typically 6–7 feet, to accommodate years of growth.
- Measuring Tape: For accurate height measurements.
- Paint or Markers: To create markings and decorate the chart.
- Stencils or Stickers: Optional, for numbers or decorative accents.
- Sandpaper: To smooth the board’s surface.
- Wall Hooks or Brackets: To securely mount the chart to the wall.
Step-by-Step Instructions
- Prepare the Board:
- Sand the wooden board thoroughly to remove rough edges and create a smooth surface.
- Wipe away any dust with a clean cloth.
- Mark the Measurements:
- Use a measuring tape to mark height increments on the board. Commonly, increments are made at every inch, with bold lines for every foot.
- Start the measurements a few inches off the floor to account for the board being hung above ground level.
- Decorate the Chart:
- Paint or draw lines at the marked increments using your chosen colors.
- Add numbers for each foot (e.g., 1′, 2′, 3′) for easy reference.
- Customize the chart with stencils, stickers, or freehand designs, such as your child’s name, stars, or animals that match the nursery theme.
- Seal the Surface:
- Apply a clear varnish or sealant to protect the chart from smudges and wear over time.
- Mount the Chart:
- Attach hooks or brackets to the back of the board for secure hanging.
- Position it on the wall at an appropriate height, ensuring the bottom aligns with the starting point of your measurements.
Portable Option: Instead of mounting, keep the chart freestanding or lean it against a wall for easy relocation.
These DIY nursery projects empower you to craft a unique and personalized space for your little one, all while keeping expenses in check. By tapping into your creativity and using readily available materials, you can design a nursery that is both functional and charming. Each project adds a touch of warmth and individuality, transforming the room into a cozy haven where your baby can grow and thrive. From decorative accents to practical solutions, these ideas allow you to infuse love and personality into every corner of your baby’s special space.