I’ll never forget the panic in Maya’s eyes when she called me last spring. She was seven months pregnant, staring at four blank nursery walls, and completely overwhelmed by Pinterest perfection. “Every nursery I see online looks like it cost $5,000 just for the walls,” she said. “I have maybe $300 total, and I’m pretty sure half of that needs to go toward actual furniture.”
This conversation happens more often than you’d think. Over the past six years of helping friends, family, and clients prepare nurseries, I’ve learned that wall decor is where people either blow their budget on things that don’t matter, or they freeze entirely and leave walls bare because they’re intimidated by all the options.
Here’s the truth I wish someone had told me when I started: nursery walls don’t need to be Instagram-perfect to be absolutely perfect for your baby. They need to feel calm, safe, and like you. And you can absolutely achieve that without spending a fortune or having professional design skills.
Let me walk you through what actually works—the techniques I’ve used in real nurseries, the costs involved, and the mistakes I’ve watched people make (including myself) so you can skip straight to the good stuff.
Why Nursery Walls Actually Matter
Before we dive into specific ideas, let’s talk about why this matters at all. Your baby won’t care about design trends. But those walls set the emotional tone for countless hours you’ll spend in that room—feeding at 3 AM, rocking a fussy baby, reading bedtime stories, watching your child grow.
The right wall decor creates a space that feels calm when you need it, stimulating when that’s appropriate, and like a genuine sanctuary for both you and your baby. It’s not about impressing visitors. It’s about creating an environment where you actually want to spend time.
1. Painting Techniques: Your Best Budget Option
Paint is hands-down your most cost-effective way to transform nursery walls. A gallon of quality paint runs $30-50 and covers about 400 square feet. Compare that to wallpaper or large art pieces, and you’ll see why I always start here.
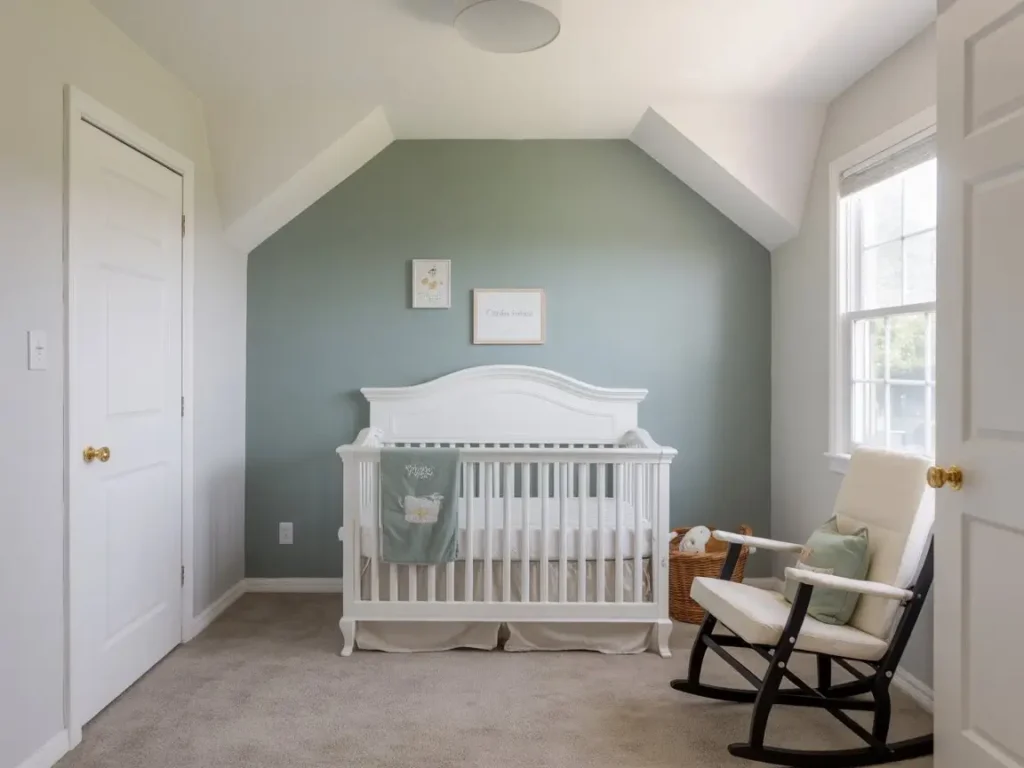
Accent Walls (Budget: $30-60)
One of my favorite projects was Sarah’s nursery last year. She was convinced she needed to paint the entire room, but her partner was worried about overwhelming their small 10×10 space with color. We compromised with an accent wall behind the crib in Benjamin Moore’s “Quiet Moments”—a soft, sagey blue-green.
Here’s what worked: we painted just that one wall, left the other three in their existing white, and suddenly the room had a focal point without feeling cramped. Total cost: one gallon of paint ($45), painter’s tape ($8), and a roller set they already owned.
The key with accent walls is choosing the right wall. Behind the crib is classic, but I’ve also done accent walls behind rocking chairs or along the longest wall if the crib placement is awkward. Just avoid the wall with the door—you want impact when you enter, not as you’re leaving.
Colors that consistently work well:
- Soft sage or mint green (calming, gender-neutral)
- Dusty blue or “greyed” navy (sophisticated without being dark)
- Warm blush or terracotta (cozy and modern)
- Pale yellow or cream (brightening without being harsh)
Avoid pure white or stark colors—they can feel clinical. And skip trendy colors you might tire of quickly. You’re going to stare at these walls a lot.
Geometric Shapes (Budget: $40-70)
Jake wanted something “less baby, more design-forward” for his daughter’s nursery. We used painter’s tape to create soft triangles on one wall—some painted in a muted coral, others in cream, creating this subtle mountain range effect.
The project took us about three hours total: one hour taping (measure twice, tape once!), one hour painting, and one hour for touch-ups after removing the tape. Cost breakdown: two quarts of paint in different colors ($20 each), quality painter’s tape ($12), and a small angled brush for edges ($6).
Pro tip from our mistakes: Use FrogTape or another “delicate surface” tape, not regular blue painter’s tape. We learned this the hard way when regular tape pulled off some of the base paint in another nursery. Also, remove tape while paint is still slightly tacky—wait too long and it can peel.
Chalkboard Paint (Budget: $25-40)
This one’s controversial, and I’m going to be honest: I only recommend it if you’re planning long-term. A baby won’t use it for years, so it’s really an investment in the room’s future as a big-kid space.
That said, I painted a 3×4 foot section of my nephew’s nursery wall with magnetic chalkboard paint ($35 for a quart), and now at age four, he loves drawing on his wall. His mom, my sister, appreciates that the contained chaos happens on a wipeable surface instead of, you know, everywhere else.
Apply it low enough that a toddler can reach—about 18-24 inches from the floor. Frame it with painted “molding” or a simple painted border so it looks intentional, not like you gave up partway through painting the room.
Hand-Painted Murals (Budget: $50-500+)
Full disclosure: I’m not an artist. But I’ve helped create several simple murals using projectors and stencils, and they’re more achievable than you’d think.
For Emma’s woodland nursery, we projected a simple tree outline onto the wall using a $40 mini projector and her laptop. We traced it lightly in pencil, then painted it with craft acrylics in soft greens and browns. Total cost including paint: about $65. Time investment: one afternoon plus drying time.
If you’re not comfortable even with traced designs, consider hiring a local art student. I’ve connected clients with college students who charged $150-300 for simple murals—way less than “professional” murals that start around $800-1000.
Reality check: Murals are harder to change as your child grows. That adorable baby animal scene might feel too juvenile when they’re five. Think carefully about longevity, or plan to repaint in a few years.
2. Wallpaper: Removable Is Your Friend
I used to avoid wallpaper entirely because of the commitment and cost. Then peel-and-stick wallpaper became widely available, and it changed everything for nurseries.
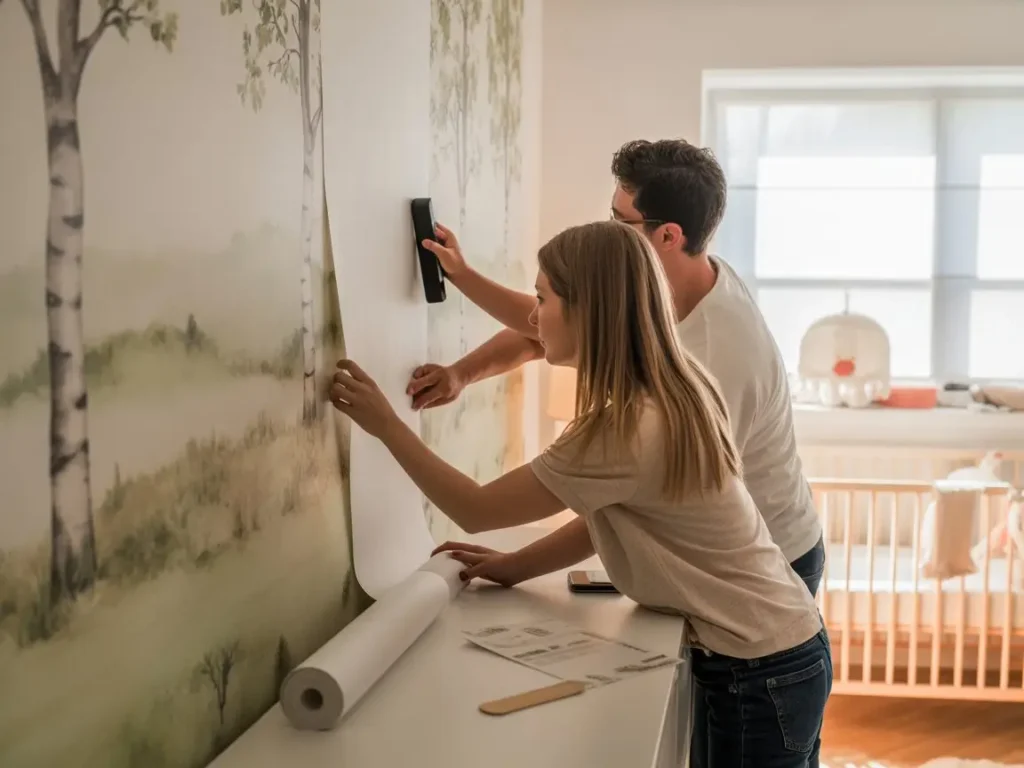
Feature Wall Wallpaper (Budget: $60-150)
Peel-and-stick wallpaper runs about $30-50 per roll, and most nursery accent walls need 2-3 rolls. Is it more expensive than paint? Yes. Is it easier to create a dramatic effect? Also yes.
Rachel covered one wall in her nursery with a soft watercolor forest wallpaper from Etsy ($85 for two rolls). The application took her and her partner about two hours, and when I helped them remove it three years later to transition to a big-kid room, it came off cleanly without damaging the paint underneath.
Where to find affordable options:
- Target’s Opalhouse line: $25-35 per roll
- Amazon’s various brands: $30-50 per roll
- Etsy independent sellers: $40-60 per roll (often more unique designs)
Application tips that actually matter:
- Start in a corner, not the middle of the wall
- Use a smoothing tool (or a credit card) to prevent bubbles
- Have your partner help—one person positions while the other smooths
- Order an extra roll; you’ll waste some matching patterns
3. Wall Art and Decor: Personal Without Being Precious
This is where I see people overspend on things that don’t add as much value as they think. A $200 custom name sign is lovely, but your baby genuinely doesn’t care, and you might prefer that money toward a better car seat.
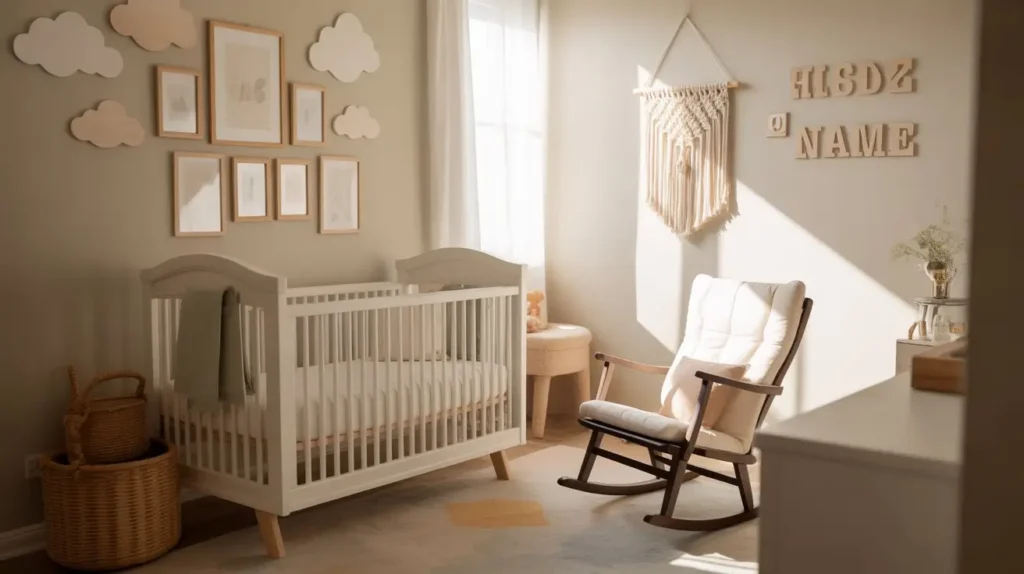
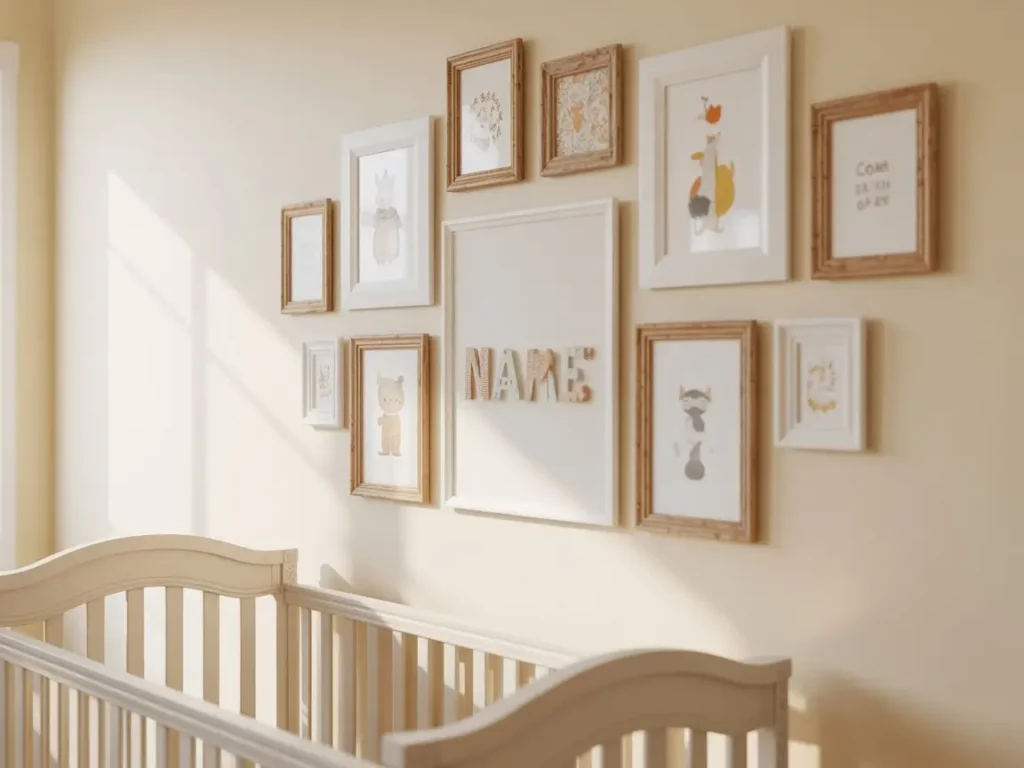
Gallery Walls (Budget: $40-120)
My favorite gallery wall was in Leo’s nursery. His parents mixed:
- Three frames from IKEA’s RIBBA line ($5-15 each)
- Two thrifted frames they spray-painted white ($3 each)
- Prints from Etsy ($8-12 each for downloads they printed at Staples)
- One DIY canvas with his name made with stick-on letters ($12)
Total: about $85 for a wall that looked cohesive and personal. The key was keeping all frames in the same color family (white and light wood) even though they were different sizes.
Budget hack: Download digital art from Etsy ($5-10) and print it yourself at FedEx/Staples for $2-5 per print. You’ll get 8x10s or 11x14s for a fraction of pre-framed art costs.
Layout tip: Arrange frames on the floor first. Take a photo. That’s your blueprint for the wall. Use painter’s tape to mark where frames will hang before hammering a single nail.
Wall Decals (Budget: $15-50)
Decals are the most renter-friendly option I recommend. They’re removable, reusable (usually), and require zero tools.
I helped install cloud decals in Charlotte’s nursery ($22 from Amazon for a set) above her crib, and they added whimsy without permanent commitment. Three years later, they’re still up and still cute.
What to look for:
- Vinyl material (easier to reposition)
- Matte finish (looks more painted-on, less sticker-like)
- Simple designs (intricate patterns show imperfections in application)
Skip these: Decals with tons of small pieces. They’re frustrating to apply and rarely look as good in real life as in photos.
Quotes and Text (Budget: $10-40)
Text on walls can feel either inspiring or like a Pinterest cliché, depending on execution. When my friend Jen wanted “Dream big, little one” in her nursery, we skipped the $60 pre-made decal and used individual vinyl letters from a craft store ($18 total). Took 30 minutes to apply, looked custom.
Alternative: Buy an affordable print with your chosen quote from Etsy ($8-12 digital download), frame it, and hang it. Less commitment than wall application, easier to change later.
4. Functional Decor: Pretty and Useful
This is my favorite category because you’re getting double duty from your budget.
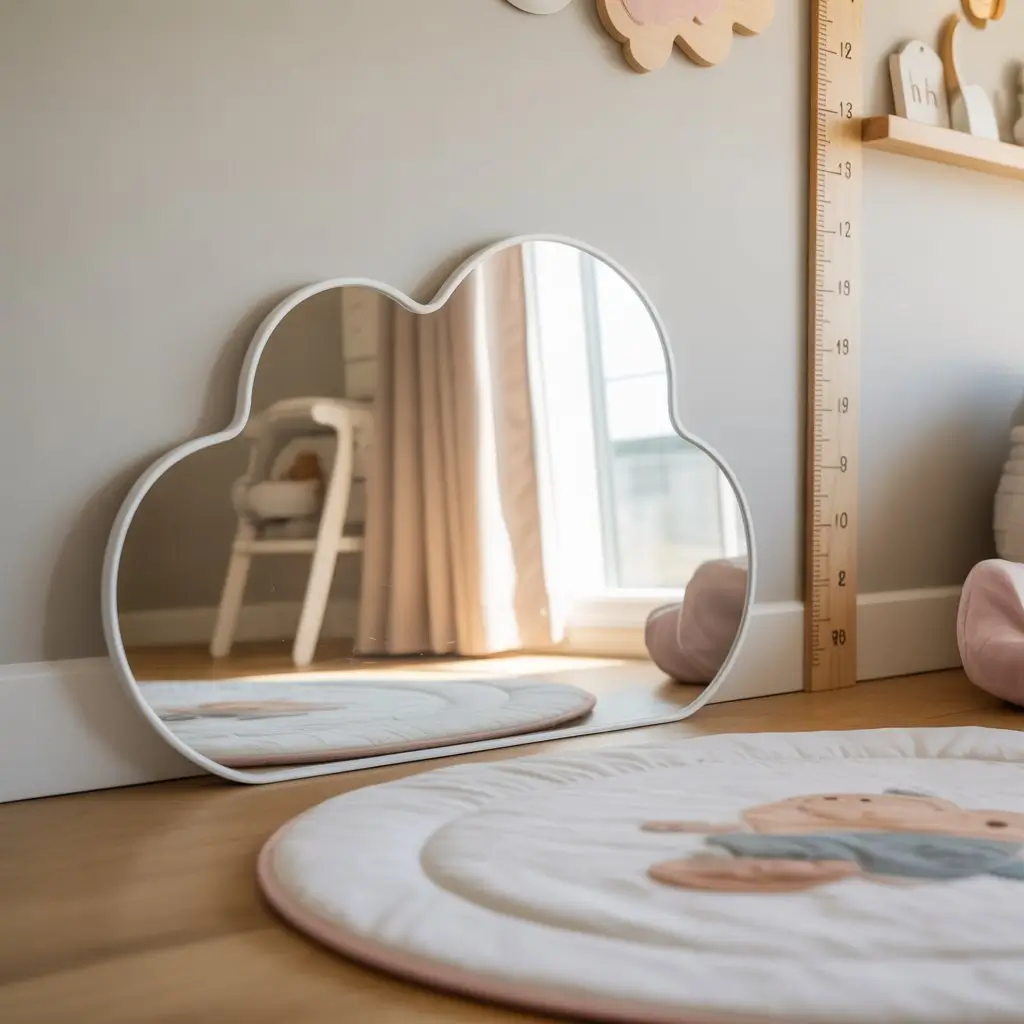
Mirrors (Budget: $20-60)
Shatterproof acrylic mirrors are safe for nurseries and genuinely useful. Babies are fascinated by their reflections starting around 4-5 months, and mirrors reflect light to brighten the space.
I found a cloud-shaped acrylic mirror on Amazon ($28) for one client’s nursery. It’s mounted at baby-height on the wall opposite the window, so it catches morning light and gives her something interesting to look at during tummy time.
Safety note: Only use acrylic/plastic mirrors, never glass, and secure them properly to the wall with appropriate hardware.
Growth Charts (Budget: $15-45)
These are sentimental and practical. The wooden growth chart rulers are everywhere now ($25-40), but I actually prefer the vinyl ones that stick directly to the wall ($15-25) because they’re easier for renters.
Mark measurements in pencil lightly at first, then go over them in permanent marker once you’ve confirmed placement. Take photos as you go—you’ll want those memories even after the chart comes down.
5. Textiles and 3D Elements: Adding Warmth
Macramé and Fabric Art (Budget: $25-80)
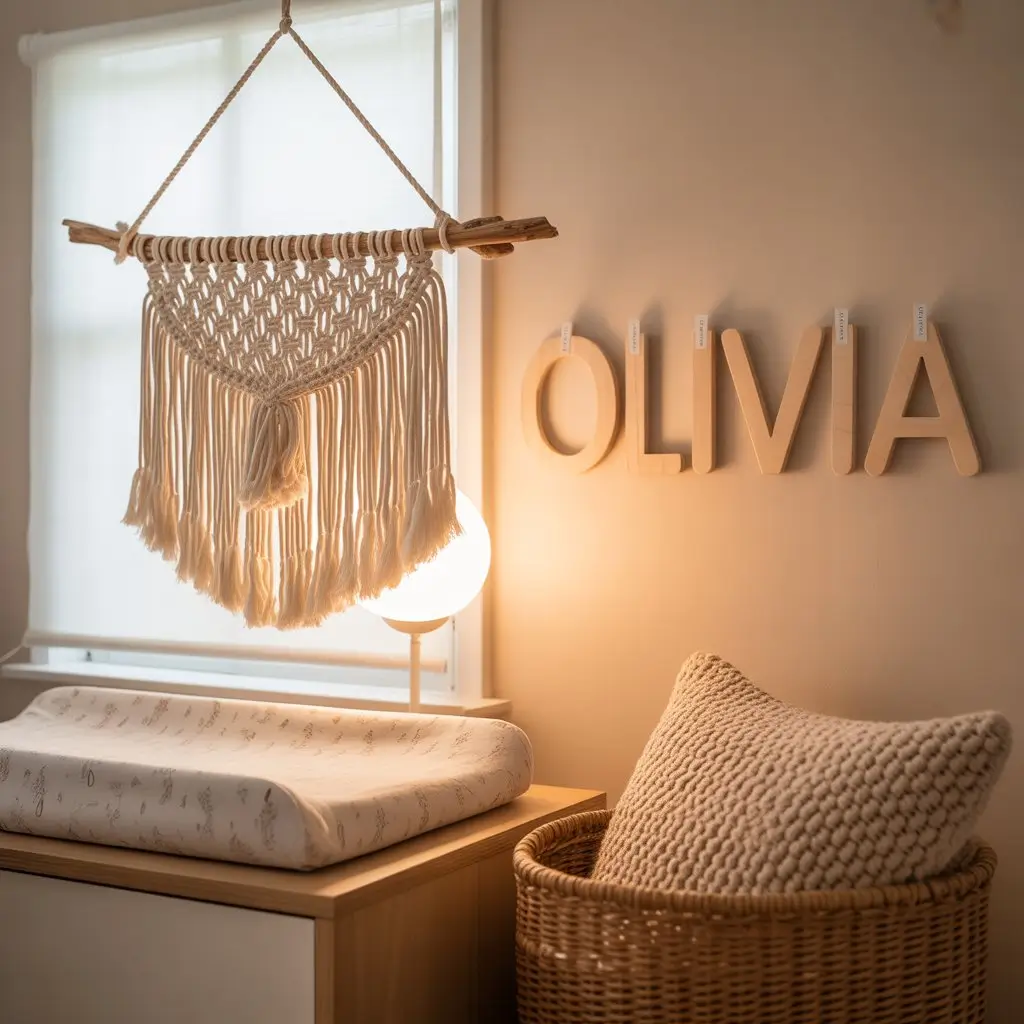
Macramé wall hangings add texture without overwhelming small spaces. I’ve hung these above changing tables, beside cribs, and over rocking chairs in probably a dozen nurseries.
Etsy has hundreds of options ($30-80 for nursery-sized pieces), or you can DIY if you’re crafty. My sister made one using YouTube tutorials, cotton rope from the hardware store ($12), and a wooden dowel ($3). Took her three evenings while watching TV.
Wooden Letters (Budget: $20-60)
Spelling out your baby’s name is a classic move. I prefer the simple route: unpainted wooden letters from craft stores (on sale for $3-5 each), arranged directly on the wall with Command strips for rental-friendly hanging.
One client painted hers to match the nursery colors ($8 for craft paint), while another left them natural wood. Both looked intentional and personal.
Alternative: Just use the initial instead of the full name if budget is tight. One large letter ($8-15) can be just as impactful as a whole name.
What I’d Skip (Lessons from Real Mistakes)
After helping with numerous nurseries, here’s what I’ve seen waste money:
Custom Name Signs Over $100: Your baby will outgrow “Baby Harper’s Room” signage. Spend that money on things with longer use.
Elaborate Murals by Professional Artists: Unless you have significant budget flexibility, $800+ for a mural you’ll paint over in 3-5 years isn’t practical for most families.
Matching Everything Perfectly: The most charming nurseries I’ve worked on mixed styles, colors, and price points. Perfect coordination often looks sterile and costs way more.
Tons of Decor: Babies need visual rest, not stimulation overload. A few thoughtful pieces beat wall-to-wall coverage.
Budget Breakdown: Three Real Approaches
Minimal Budget ($100-200):
- One accent wall with paint: $50
- Gallery wall with printed art and budget frames: $60
- Wall decals or vinyl letters: $25
- One textile piece (macramé or fabric art): $40
Moderate Budget ($200-400):
- Accent wall or geometric paint design: $70
- Peel-and-stick wallpaper feature wall: $100
- Gallery wall with mix of art and personal items: $80
- Functional mirror: $30
- Wooden name letters: $45
- Growth chart: $25
Comfortable Budget ($400-600):
- Professional or elaborate painted mural: $200
- Peel-and-stick wallpaper: $120
- Curated gallery wall with quality frames: $120
- Multiple textile pieces: $80
- Wooden letters or custom name art: $60
- Mirror and growth chart: $60
Your Action Plan: Where to Start
Feeling less overwhelmed? Here’s how to actually begin:
Step 1: Measure your walls and take photos from multiple angles. Live with them for a week, noticing how light changes throughout the day.
Step 2: Decide your non-negotiables. Is it a painted accent wall? A specific color scheme? Something that works with your existing furniture?
Step 3: Start with paint if you’re budget-conscious. It gives you the most impact per dollar and you can always add layers later.
Step 4: Add one or two personal elements—a gallery wall, some decals, a name display. Don’t try to do everything at once.
Step 5: Live with it. You can always add more. It’s harder to subtract.
Remember Maya from the beginning? We created her nursery wall decor for $185 total: an accent wall in soft sage ($48), a gallery wall with downloaded prints and IKEA frames ($67), cloud decals ($25), and a thrifted mirror she spray-painted white ($12 total with paint). Her daughter is eighteen months old now, and Maya still sends me photos of that room with pride.
Your nursery walls don’t need to be perfect. They need to be yours—a space that feels calm, welcoming, and ready for all the beautiful chaos of life with a baby. Start with one idea from this guide, execute it well, and build from there. You’ve got this.
Ready to transform your nursery walls? Start with the project that excites you most—that enthusiasm will carry you through to a beautiful result. And if you get stuck or want to share your progress, I’d love to hear about it. What’s the first wall decor project you’re tackling?